How to Renovate an Auckland Villa Without Ruining It (2026 Guide)

How to Renovate an Auckland Villa Without Ruining It
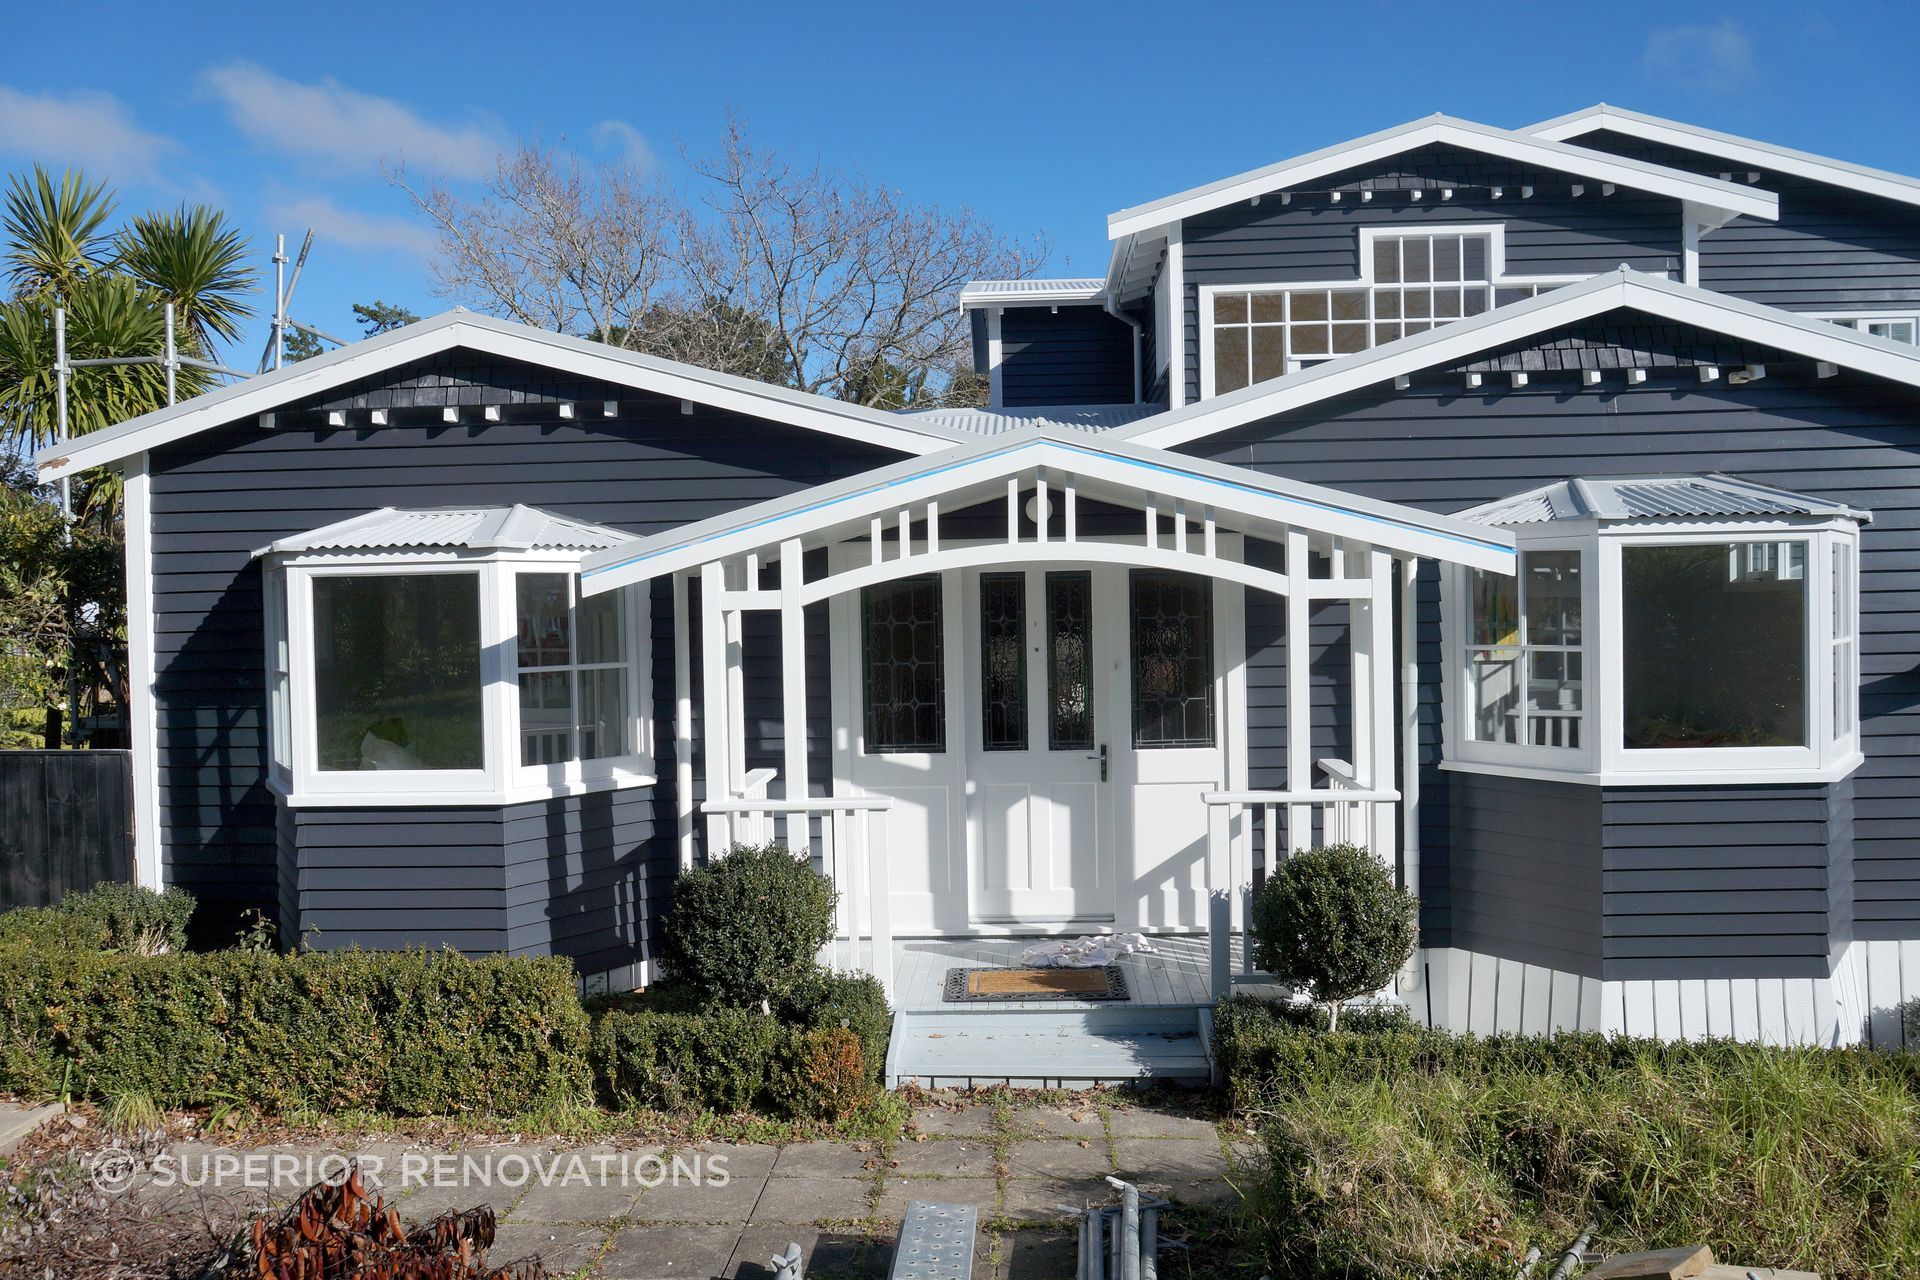
There's a particular kind of excitement that comes with owning an Auckland villa. High ceilings. Timber floors worn smooth by a hundred years of family life. Bay windows framing the street like a postcard. Then you start renovating — and find the framing is riddled with borer, the plumbing is Dux Quest, and someone in the 1980s tiled over the original fireplace with something truly regrettable.
We've been inside a lot of Auckland villas. And the ones that come out the other side looking genuinely stunning — where the new and the old sit together without fighting — share a few things in common. This guide is about those things.
Whether you're planning a kitchen and bathroom upgrade, opening up the back of the house for better flow, or tackling a full renovation of a Grey Lynn or Ponsonby villa, here's what actually matters — and what'll cost you if you get it wrong.
What Makes Villa Renovations Different (And More Complex)
A villa renovation isn't the same job as renovating a 1990s townhouse. Full stop.
These homes were built between roughly 1880 and 1910, mostly in timber, with materials and construction methods that predate the Building Act 2004 by nearly a century. That heritage is precisely what makes them so desirable. It's also what makes them unpredictable.
The first thing we tell clients is this: budget for what you can see, then add 20–25% for what you can't. In a pre-1940s villa, that contingency buffer isn't pessimism — it's experience. Open a wall in Sandringham and you might find timber framing in perfect condition. Open one in Freemans Bay and find rot that's been quietly spreading since the 1970s. You don't know until you're in.
Common surprises we encounter across Auckland villa projects:
Subfloor rot and borer. Villas sit on timber piles, and the subfloor void is often damp, poorly ventilated, and exactly the kind of environment borer loves. We factor a pre-renovation subfloor inspection into every villa project we manage.
Dux Quest plumbing. That grey plastic pipe installed throughout the 1970s and 80s? If your villa had any work done in that era, there's a reasonable chance it's in there. It degrades, it's not insurable in some configurations, and it needs to come out. Replumbing runs $8,000–$20,000+ depending on access and scope.
Undersized or outdated electrical. Pre-war wiring — or wiring added piecemeal over the decades since — frequently can't handle a modern household's load. A full rewire on a standard 3-bedroom villa runs $10,000–$18,000.
Single-layer GIB over original lath and plaster. Stripping back to the original plaster is time-consuming. Relining over it, while faster, adds depth that can affect joinery and architraves. Either way, it needs a plan.
None of this is a reason not to renovate. It's a reason to go in with eyes open.
The Character Features Worth Fighting For
Walk into almost any well-executed Auckland villa renovation and the features that make it feel special are the original ones. Not the new kitchen (though that matters too). The kauri floors. The ornate ceiling roses. The panelled walls in the hallway. The 1.5-metre stud height that makes every room feel generous.
"The first question I ask clients is which original features they absolutely want to keep," says Dorothy Li, our Design Manager. "That list shapes everything — the layout, the materials, the approach to the extension. Once you know what's non-negotiable, the rest of the design problem gets a lot clearer."
Here's what we'd protect in any Auckland villa:
Timber floors. Original kauri or rimu floorboards are irreplaceable. They can be sanded back, stained, oiled, or left natural. Replacing them with engineered oak is a legitimate choice — but you will lose something that cannot be bought back. Our advice: if the boards are structurally sound, save them.
Ceiling roses and cornices. Victorian plasterwork is skilled labour that doesn't exist cheaply anymore. Restoration is an option; so is casting new elements from surviving moulds. What you don't want to do is board over it or rip it out to achieve a "contemporary" look that'll date in five years.
Sash windows. Draughty, yes. Often single-glazed, yes. But they're proportionally right for the house and legally protected in some Auckland heritage zones. Double glazing can now be retrofitted into existing sash frames — it adds cost, but it's a far better outcome than replacing them with aluminium sliders that don't suit the building.
The street facade. In character-area overlays across Ponsonby, Grey Lynn, Mt Eden, Herne Bay and others, Auckland Council restricts what you can do to the visible street frontage. This isn't just a compliance issue — it's also what protects the value of the neighbourhood. The best villa renovations treat the front as a statement of respect, and do the contemporary work at the rear.
Where the Money Actually Goes: Villa Renovation Costs in Auckland
A mid-range villa renovation in Auckland — covering kitchen, bathroom, flooring, internal repainting, and some layout adjustment — runs $80,000–$200,000. A full renovation involving structural changes, extension, new kitchen, and two bathrooms will start around $250,000 and can comfortably exceed $400,000–$500,000 on the larger Ponsonby and Herne Bay properties.
Here's how that typically breaks down:
Kitchen renovation: $30,000–$50,000 for a solid mid-range result. Custom cabinetry, stone benchtops, integrated appliances, and a layout rethink can push to $80,000–$138,000+. Villa kitchens often require moving plumbing and improving ventilation — both add cost. Use our kitchen renovation cost calculator for a tailored estimate.
Bathroom renovation: $26,000–$35,000 mid-range. Full overhaul with luxury finishes: $40,000–$60,000. Older villa bathrooms frequently need waterproofing remediation, new GIB Aqualine, and updated plumbing rough-ins.
House extension (ground floor): $2,000–$5,500/m². A 40m² rear extension — adding an open-plan kitchen and living space at the back — sits roughly $80,000–$220,000 depending on complexity, site conditions, and finish level. At Superior Renovations we work alongside Sonder Architecture to handle the design and consent process for extensions — which means one team managing the project from consent application through to completion.
Structural surprises contingency: 20–25% on top of your core budget. Non-negotiable on pre-1940 homes.
One job that illustrates the cost dynamic well: a Grey Lynn villa we renovated recently — three bedrooms, one original bathroom, no kitchen worthy of the name. The scope was a full kitchen, new bathroom, and a 32m² rear extension to create an open-plan living and dining space. Pre-renovation inspections found borer damage in the subfloor joists and outdated wiring throughout. Neither was visible from the street. Both needed to be sorted before we could build the extension. Total project: $385,000. The clients had budgeted $310,000. That 25% buffer? It got used.
The Consent Question: What Needs Approval in Auckland
This is where villa renovations get complicated, and where cutting corners will cost you far more than the consent fee.
Building Consent is required whenever you:
- Make structural changes (remove walls, alter load-bearing elements, extend the footprint)
- Alter plumbing or drainage
- Make significant changes to electrical systems
- Add new habitable rooms
Under the Building Act 2004, all restricted building work must be carried out by or supervised by a Licensed Building Practitioner (LBP). Any reputable Auckland renovation company will have LBP-qualified tradespeople on the team.
Resource Consent may also be needed if your villa sits within one of Auckland's character or heritage overlay zones under the Auckland Unitary Plan. These overlays cover large swathes of inner-Auckland suburbs — Ponsonby, Grey Lynn, Freemans Bay, Herne Bay, Sandringham, parts of Mt Eden — and restrict what you can change on the visible portions of the property. If you're planning a front verandah rebuild, a dormer addition, or changes to the facade, check the Unitary Plan at aucklandcouncil.govt.nz before you get excited about a design.
Consent timeframes: A standard building consent through Auckland Council takes 20 working days. Complex projects or heritage applications can take considerably longer. Factor this into your project timeline — renovation companies that tell you they'll "sort the consent while we start on other things" are usually setting you up for trouble.
The free feasibility report we offer at Superior Renovations covers consent requirements as part of the initial assessment — so you know exactly what you're dealing with before committing to a budget.
Modernising Without Destroying: The Design Principles That Work
A good villa renovation doesn't try to make the house look like it was built in 2024. It makes it work like it was.
The principle that consistently delivers the best results — both aesthetically and in resale value — is contrast done with intention. The original villa portion stays true to period details: timber floors, panelled walls, high ceilings, sash windows. The rear extension is clearly contemporary — Shadowclad or flat-lock timber cladding, large glazed openings, a simple roofline that doesn't compete with the villa's own profile.
"The transition point between old and new is where most villa renovations succeed or fail," says Eunice Qin, one of our designers. "We usually create a deliberate threshold — a change in ceiling height, a step up or down, or a material shift — so the two parts of the house feel intentionally connected rather than accidentally joined. That contrast, when it's done right, is actually what makes people stop and look."
Cici Zou, who handles most of our bathroom projects for villa renovations, takes a similar view on material choices: "Clients sometimes want to honour the period style in the new bathroom — freestanding tubs, subway tiles, brass tapware. That can work beautifully. But it also tends to date faster than something more neutral. My instinct is usually to go timeless over period, unless the client is very committed to the style and the rest of the house supports it."
For the kitchen, Alison Yu recommends keeping the colour palette anchored. "In older villas, the kitchen sits alongside a lot of warm timber. A white or off-white cabinet finish — Laminex Chalk, or a two-pac in Resene Half Blackboard — tends to sit well without competing with what's already there. Save the statement for the benchtop."
The Open-Plan Question: Should You Knock That Wall Down?
Most Grey Lynn, Ponsonby, and Mt Eden villas were built with separate rooms: a front parlour, a dining room, a kitchen tucked away at the back. That compartmentalised layout made sense for Victorian domestic life. It makes less sense for how families actually live now.
Opening up the back of a villa — combining kitchen, dining, and living into one connected space that flows to an outdoor deck — is probably the most common major intervention we do on Auckland villas. Done well, it's also the one that has the most impact on daily life.
But here's what homeowners often don't ask before they start: is that wall structural? Because in a villa, the answer is frequently yes. Interior walls in these homes often carry loads from the roof, and removing them without proper structural engineering isn't just a code issue — it's a safety issue. Every wall removal on a villa project we handle goes through a structural engineer. That adds cost ($1,500–$4,000 for structural engineering on a typical wall removal) but eliminates the risk of finding out the problem the wrong way.
The beam required to replace a load-bearing wall — typically a laminated timber or steel section — adds further cost, usually $3,000–$8,000 depending on span. Budget it in from the start.
Our home renovation service covers all of this, including the structural coordination, consent management, and project management to keep everything running on time. If your project involves a significant extension alongside the open-plan work, the house extension route — with full architectural design from Sonder Architecture — is usually the better path.
The Energy Efficiency Upgrade You Can't Ignore
This one comes up in almost every villa renovation conversation, and it's worth addressing directly.
Auckland villas were built without insulation. Not poor insulation — none. They were designed for a New Zealand that hadn't yet discovered the concept of a weathertight building. The result is homes that are cold in winter, damp, and expensive to heat.
Under the Building Code's updated Clause H1 (fully implemented November 2023), any renovated area that requires building consent must meet current insulation R-values. For Auckland (Climate Zone 2), that means:
- Ceiling: R3.3 minimum (new build standard R6.6)
- Underfloor: R1.3 minimum
- Walls: R2.0 minimum (for new framing)
If you're opening walls, pulling up floors, or relining the ceiling anyway — and on a villa renovation, you usually are — the marginal cost of upgrading insulation while you're in there is small compared to doing it as a separate job later. GreenStuf polyester batts in walls run around $5,000–$8,000 for a standard 120m² villa. Underfloor insulation, if you're already down there addressing borer, adds another $1,500–$3,000. The rule is simple: if the wall's open, insulate it.
Double glazing is worth considering on sash windows at this point too — especially if you're in a wind-exposed North Shore or coastal suburb. EECA's Warmer Kiwi Homes programme may subsidise insulation costs for eligible homeowners.