Best-Practice Workflows | Landscape Area, Hardscape, & Plant Tools

It’s no stretch to say that Vectorworks is the premier tool for landscape BIM.
In this blog, you’ll see how three of the BIM tools in Vectorworks Landmark set you up for a successful BIM process. Those tools are:
- The Landscape Area tool
- The Hardscape tool
- The Plant tool
Plus, you’ll find some tips for combining the use of these tools into a best-practice site modeling workflow.
The Landscape Area Tool
At a high level, the tool serves two primary functions:
- Establishing the ground plane
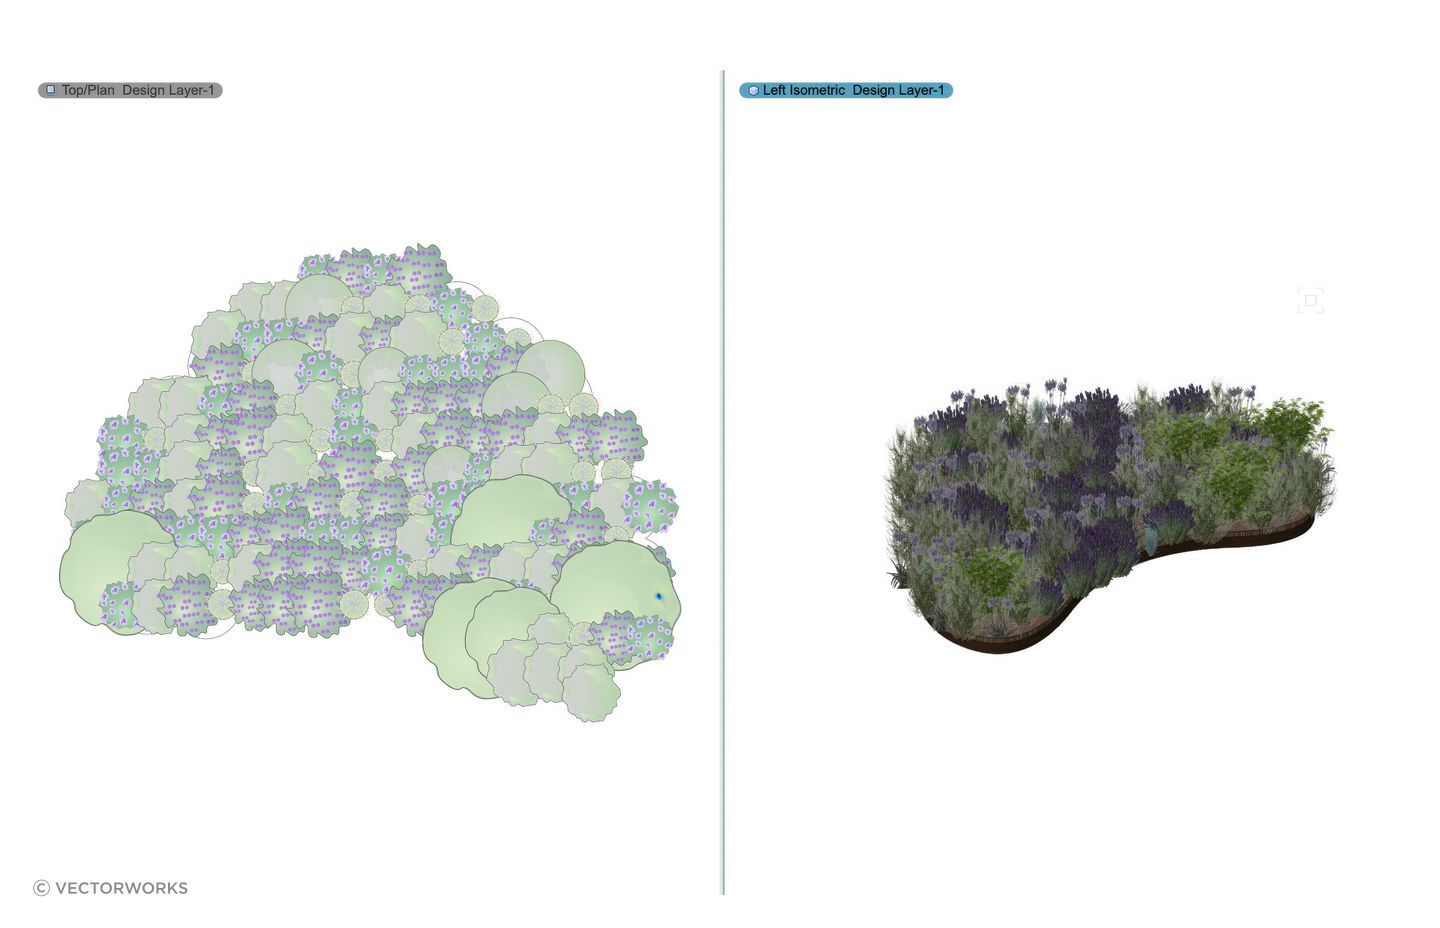
- Creating plant massings
In the data-driven BIM world, the Landscape Area tool — along with the others in this blog — is crucial. From the very start of your project, you’re able to create softscape areas with specified materials and their depths, which allows you to quantify volume. Both surface and projected areas are available as well.

In Vectorworks, landscape areas are parametric objects whose parameters (like materials and their depths) can be specified in the Landscape Area tool dialog.
Landscape areas can be set to automatically rest right above the surface of the site model (the terrain).
The Hardscape Tool
The Hardscape tool is similar in many ways to the Landscape Area tool, except it deals with hard, constructed surfaces like pavement or sidewalks.
Hardscape objects are parametric and can contain much of the same information as landscape areas, though there are some differences. For instance, within a hardscape object, you can define both main and border areas with material components and depths. You can also assign paving patterns to the main area.

Hardscapes can be set to a specific elevation, and you can assign slope values for drainage. If you want to get into more detail, you can even use surface modifiers to set spot elevations and grades along a hardscape.
The Plant Tool
This tool can be used to represent everything from understory mass plantings to individual trees.
Plants in Vectorworks are smart objects containing information such as:
- Latin name
- Common name
- Root ball shapes and sizes
- Hardiness zone
- Water usage
- Bloom time
- Bloom color
- Sun requirements
Plants are also parametric objects. You can adjust parameters such as height, spread, spacing, row spacing, and root ball sizes/shapes.

There’s a variety of ways to place plants depending on your needs. You could place them individually, along a polyline, with specified spacing, or by rectangular or triangular array.
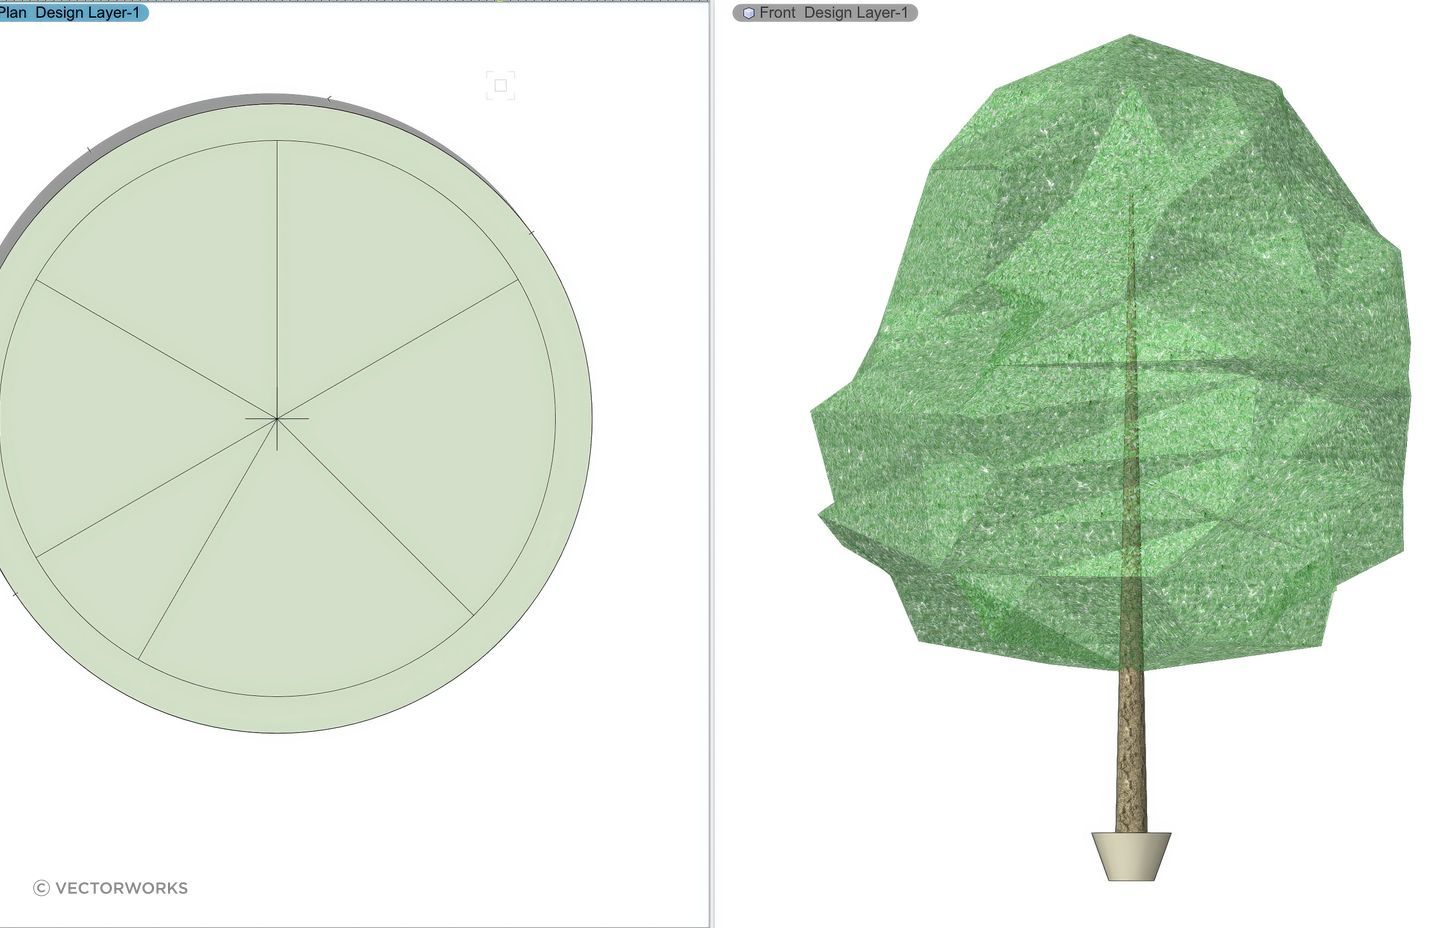
Plants in Vectorworks can make use of image props or have defined 3D geometry with options to display root balls and excavation zones. 3D geometry and image props respond to parametric changes, so you can adjust form to achieve the desired visual effect.
Best Practices for Designing with the Landscape Area, Hardscape, and Plant Tools
After establishing the existing conditions of a site — either through survey import, georeferencing, or manual site inventory — you can use a combination of basic tools like the polyline tool and commands like add/clip surface to create areas that can ultimately be converted to hardscapes or landscape areas.

At this point, the shapes you draw are just that — shapes. This method is a fast way to establish spatial arrangements before getting into too much detail, so you have a solid understanding of the site’s layout.
Landscape Areas and Hardscapes enter the picture through the Create Objects from Shapes command. The command will turn your basic polygon into a smart object with its own parameters.
Here are those basic shapes turned into landscape areas and hardscapes:

Placing an additional landscape area over the first designates a planting bed. Separating it into two landscape areas like this helps make documentation easier later in the design process.
At this point, you might use any of the preconfigured landscape area styles as illustrative placeholders. Later, you can replace with another style and specify exact plants and distribution rates.

You can select hardscapes to edit their parameters and achieve visual effects that many firms accomplish with graphical scripting. In Vectorworks, there are shortcuts made specifically to change the look of hardscapes, like:
- Angle/size of joints
- Pathways centered on a line
- Length/width of units
- Offset joints

Tying Everything Together with BIM
These tools are multifaceted as they allow you to mature design elements as the project progresses. The tools can take on more details, make coordinated adjustments when materials change, and help transition into presentations and file exchanges.
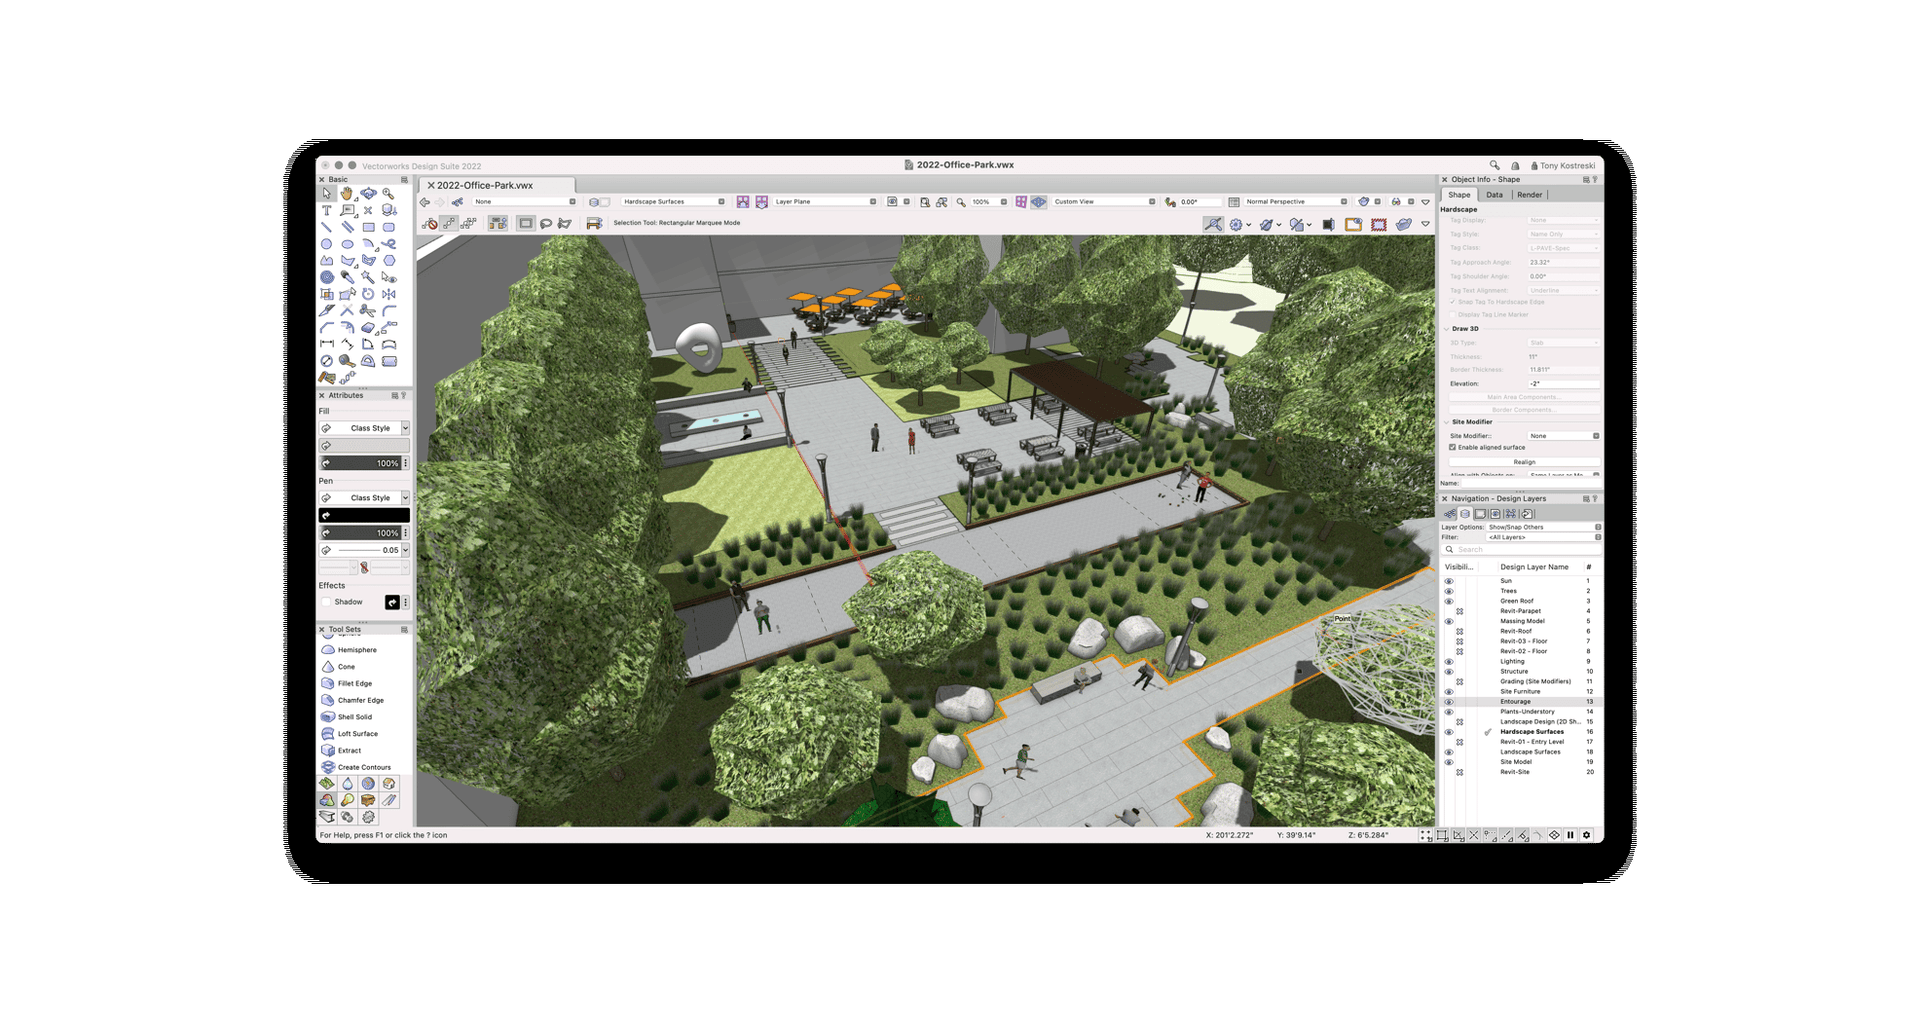
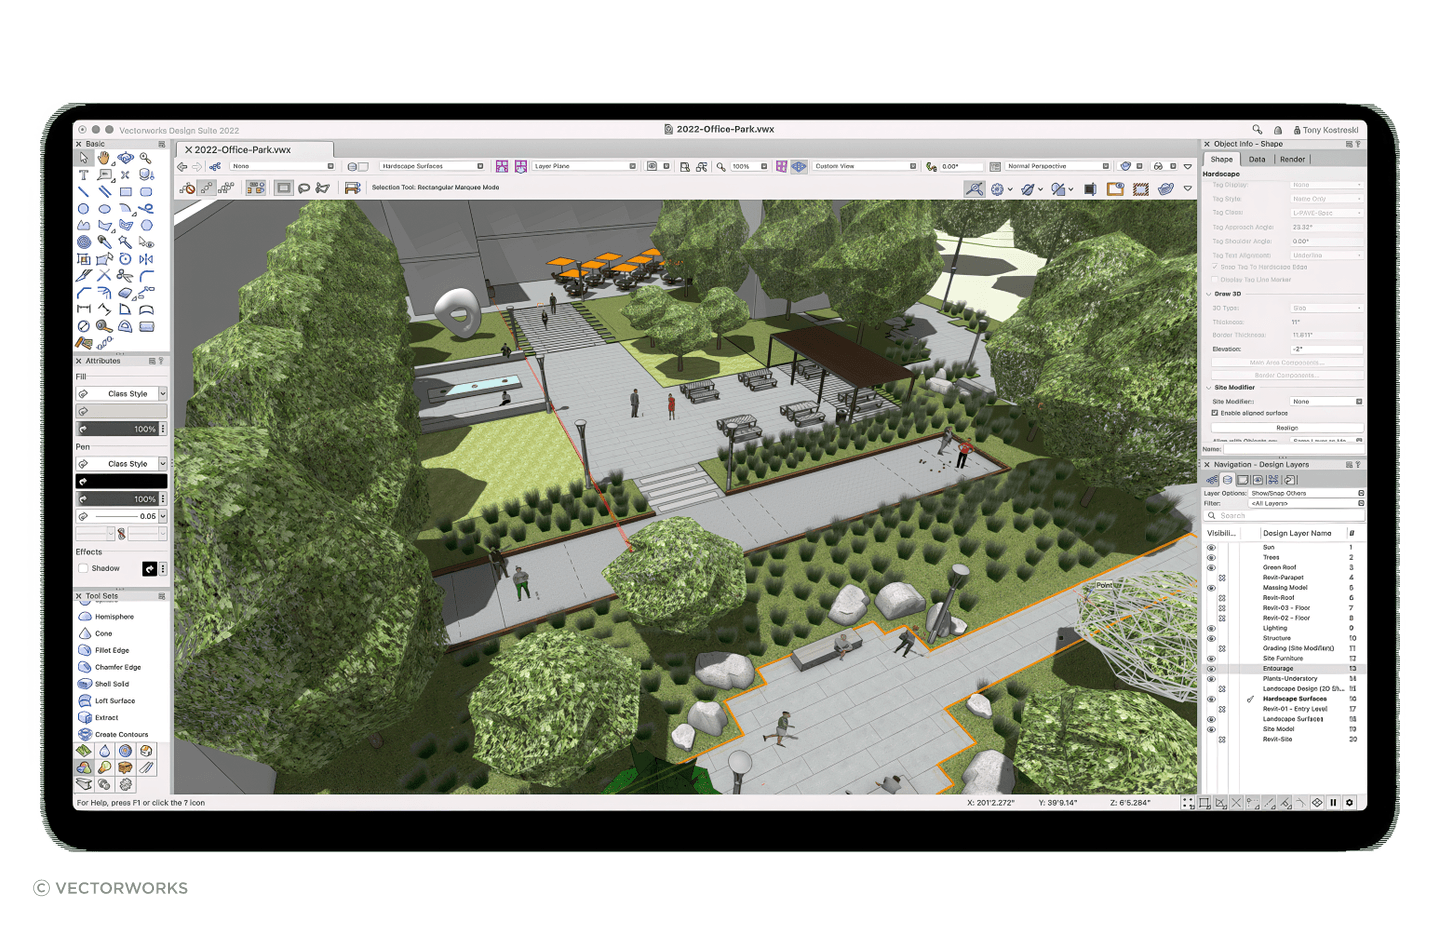
Here’s what the final site from our examples above looks like:

Practicing these tools provides a great foundation of knowledge and skill for practically any site design workflow.
The fact that they allow you to design parametrically means construction documentation can come directly from the model. All geometry created with these tools is automatically tagged for IFC, so you’re perfectly set up to participate in the BIM process.
