WallShield
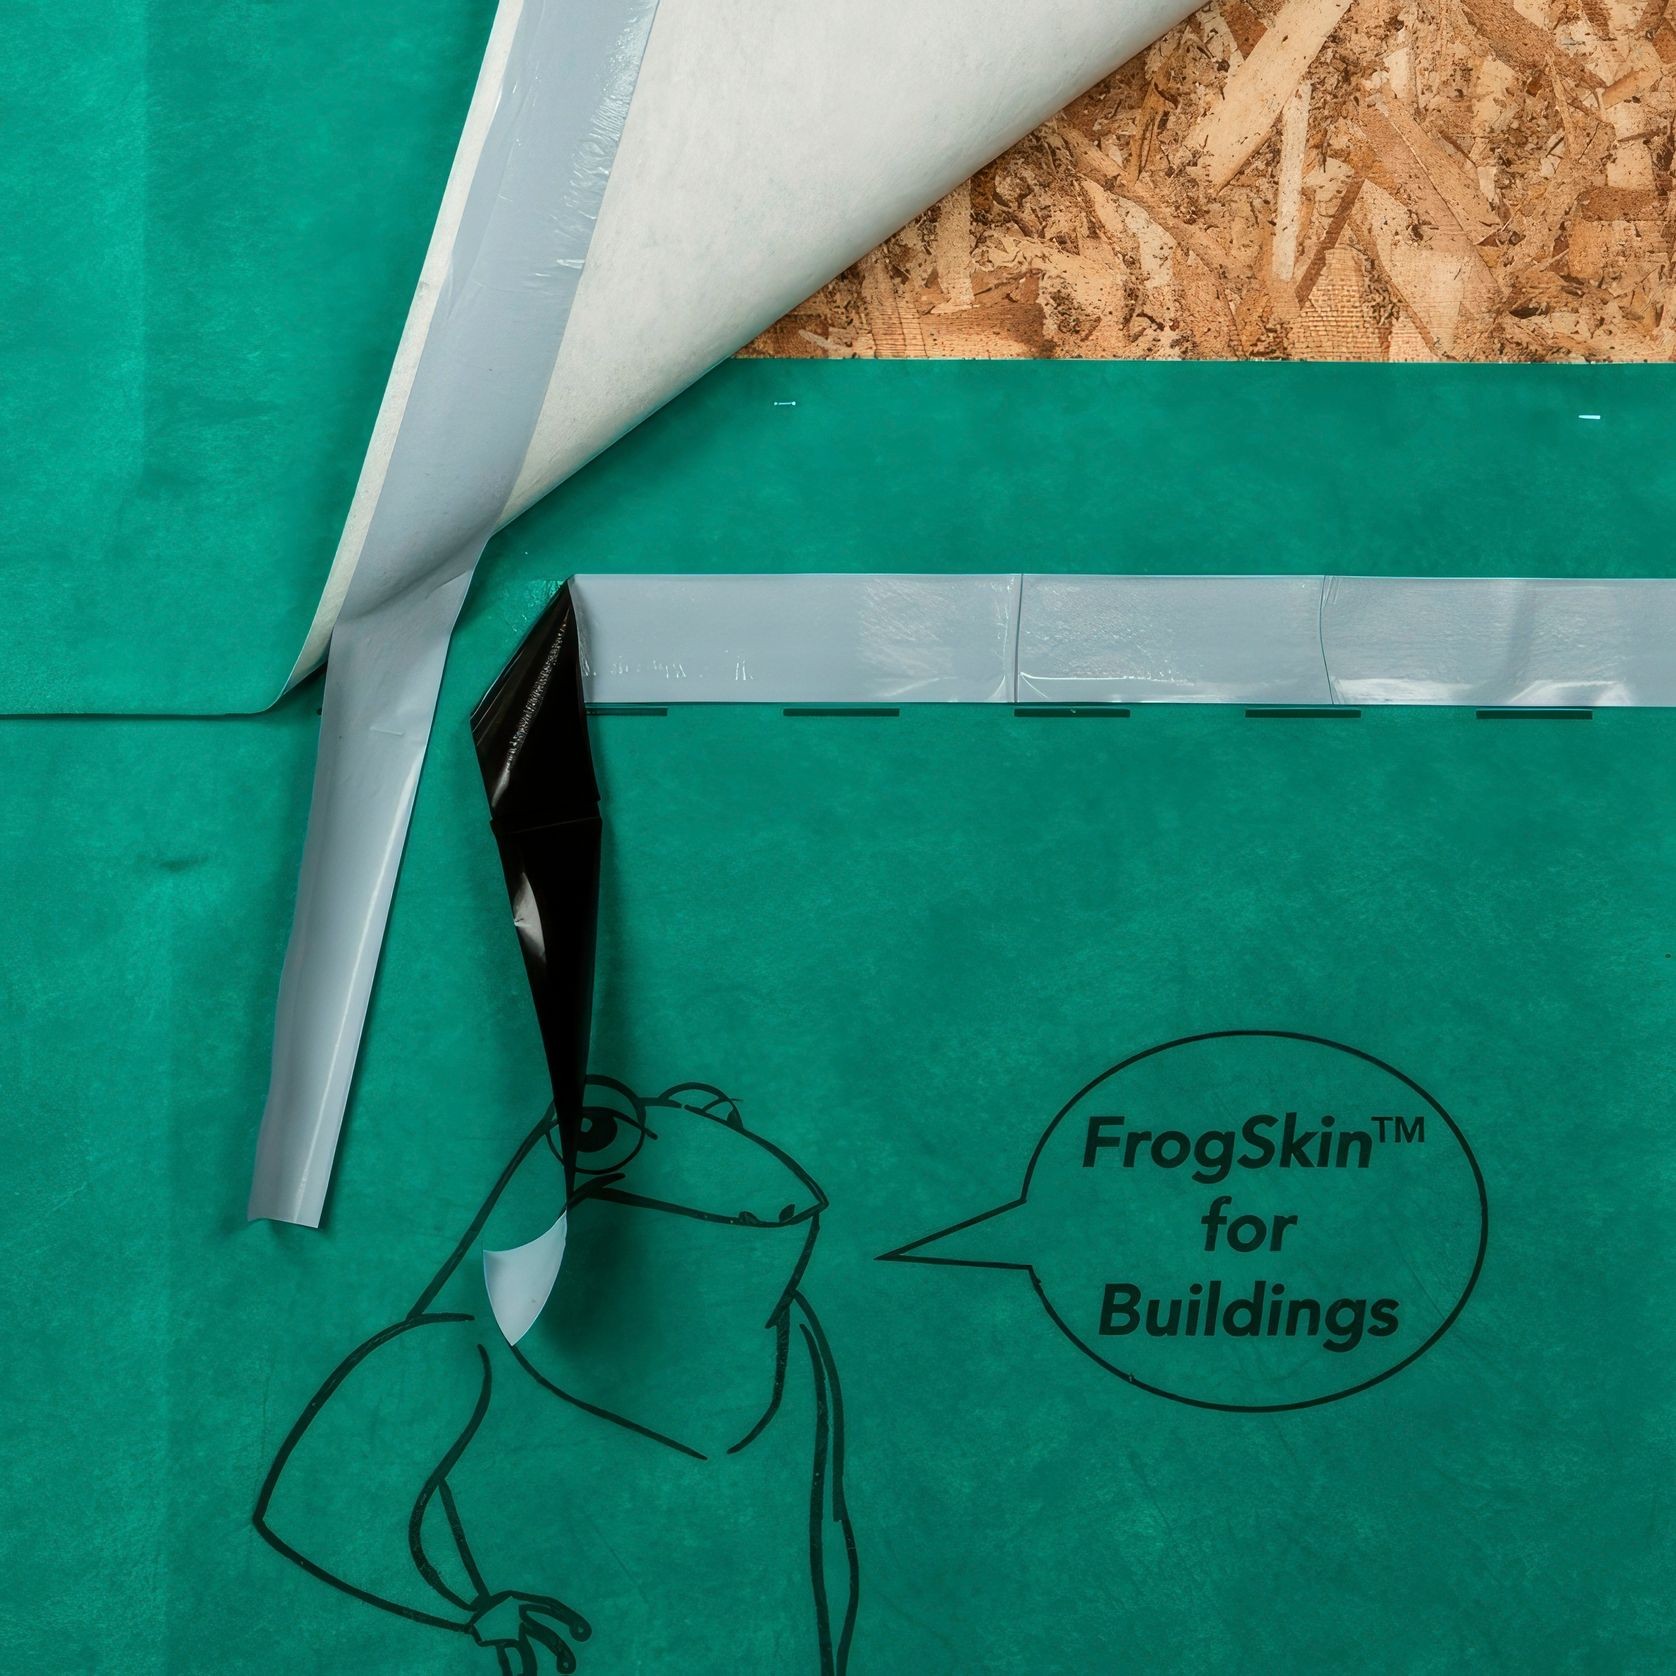
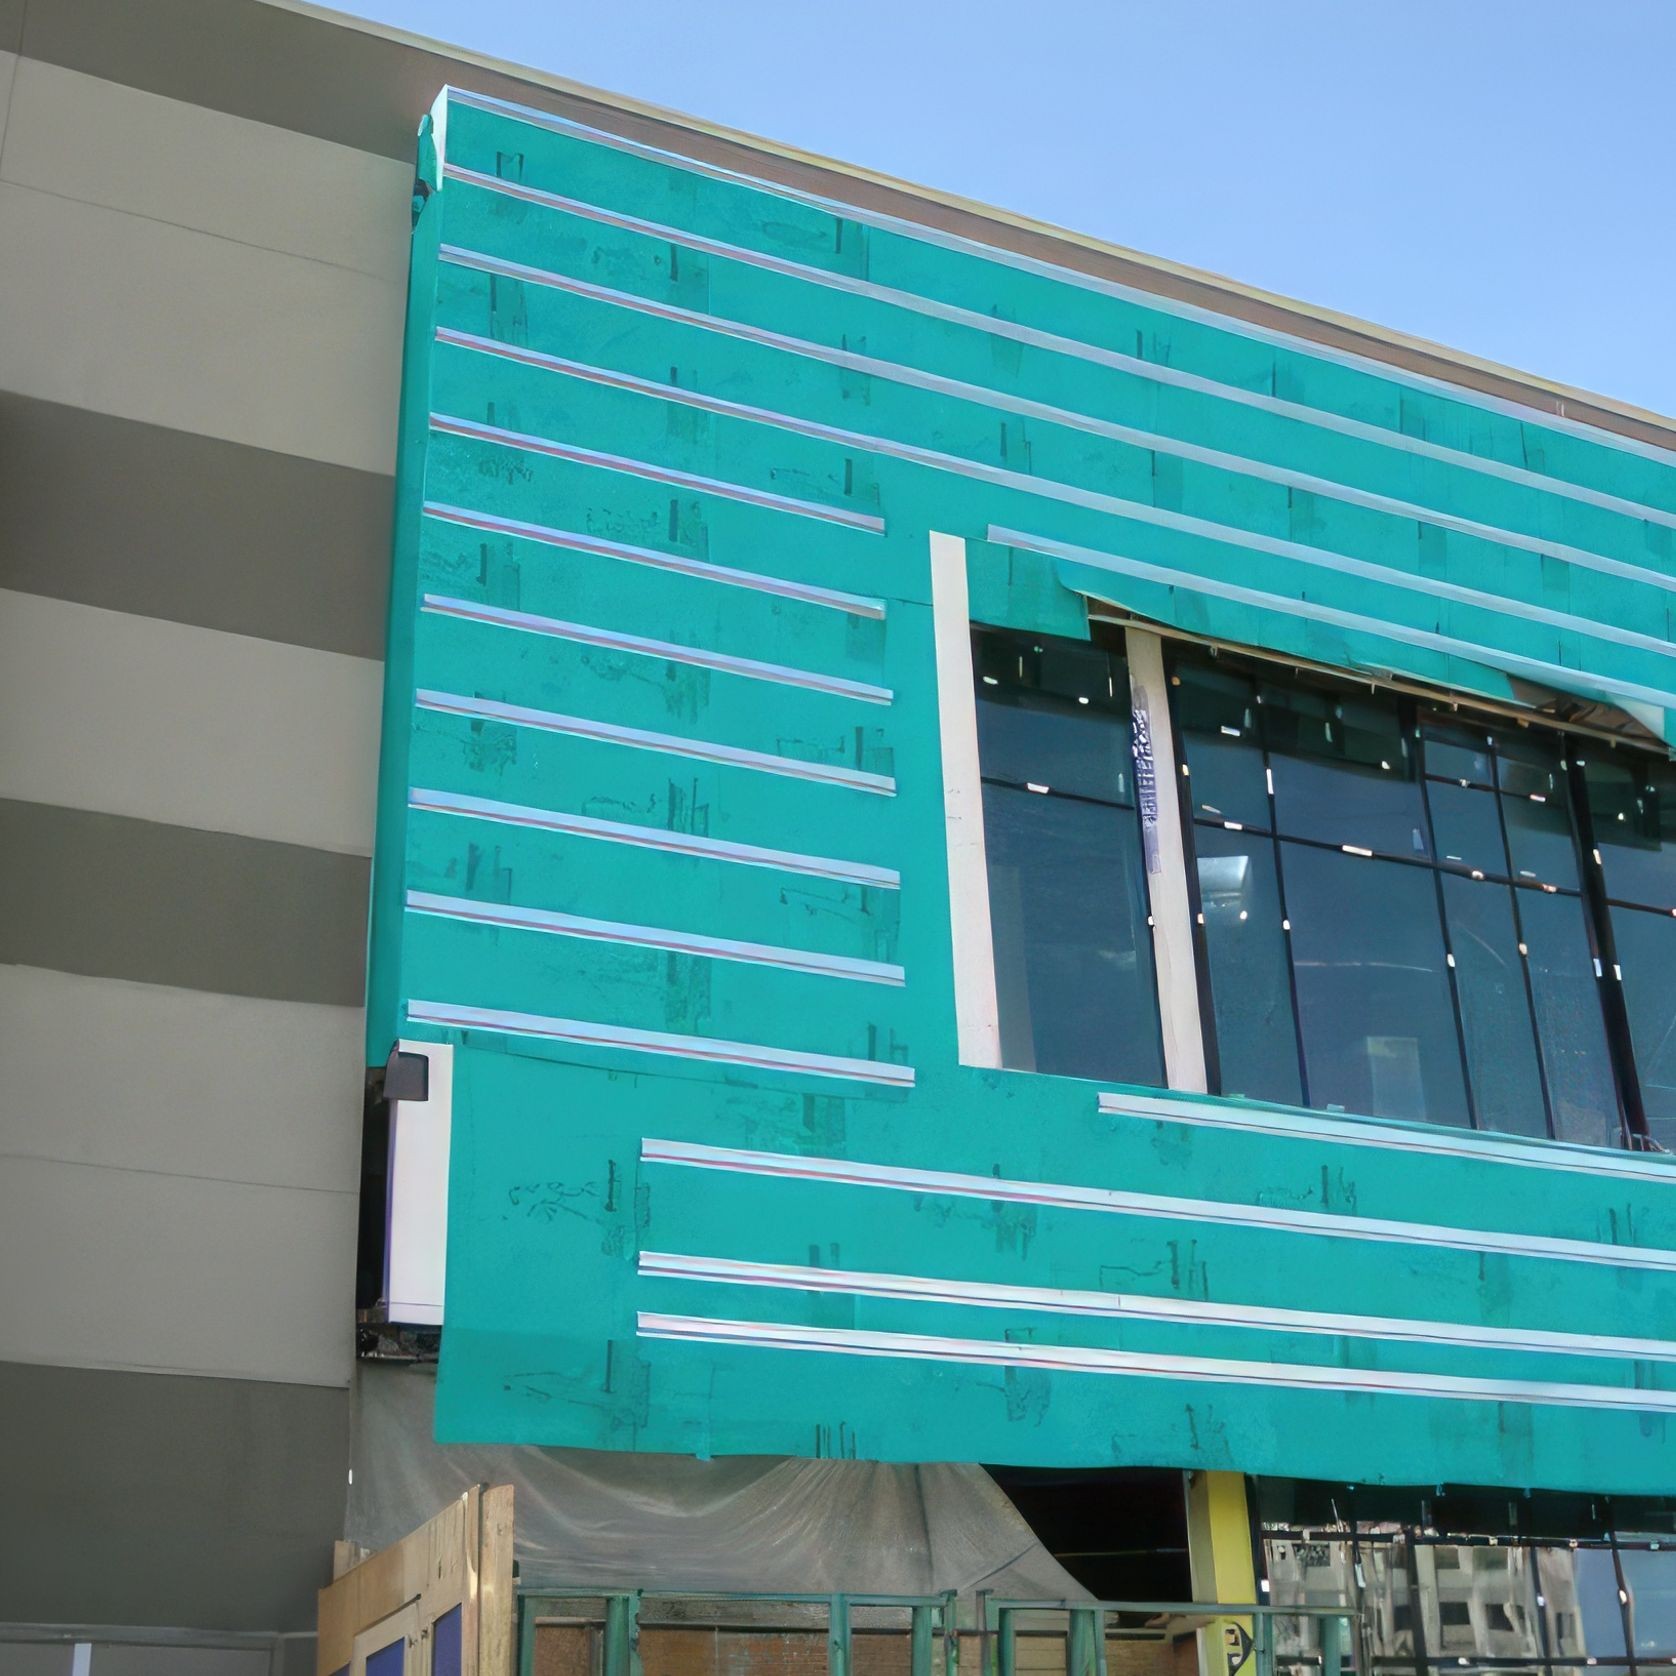
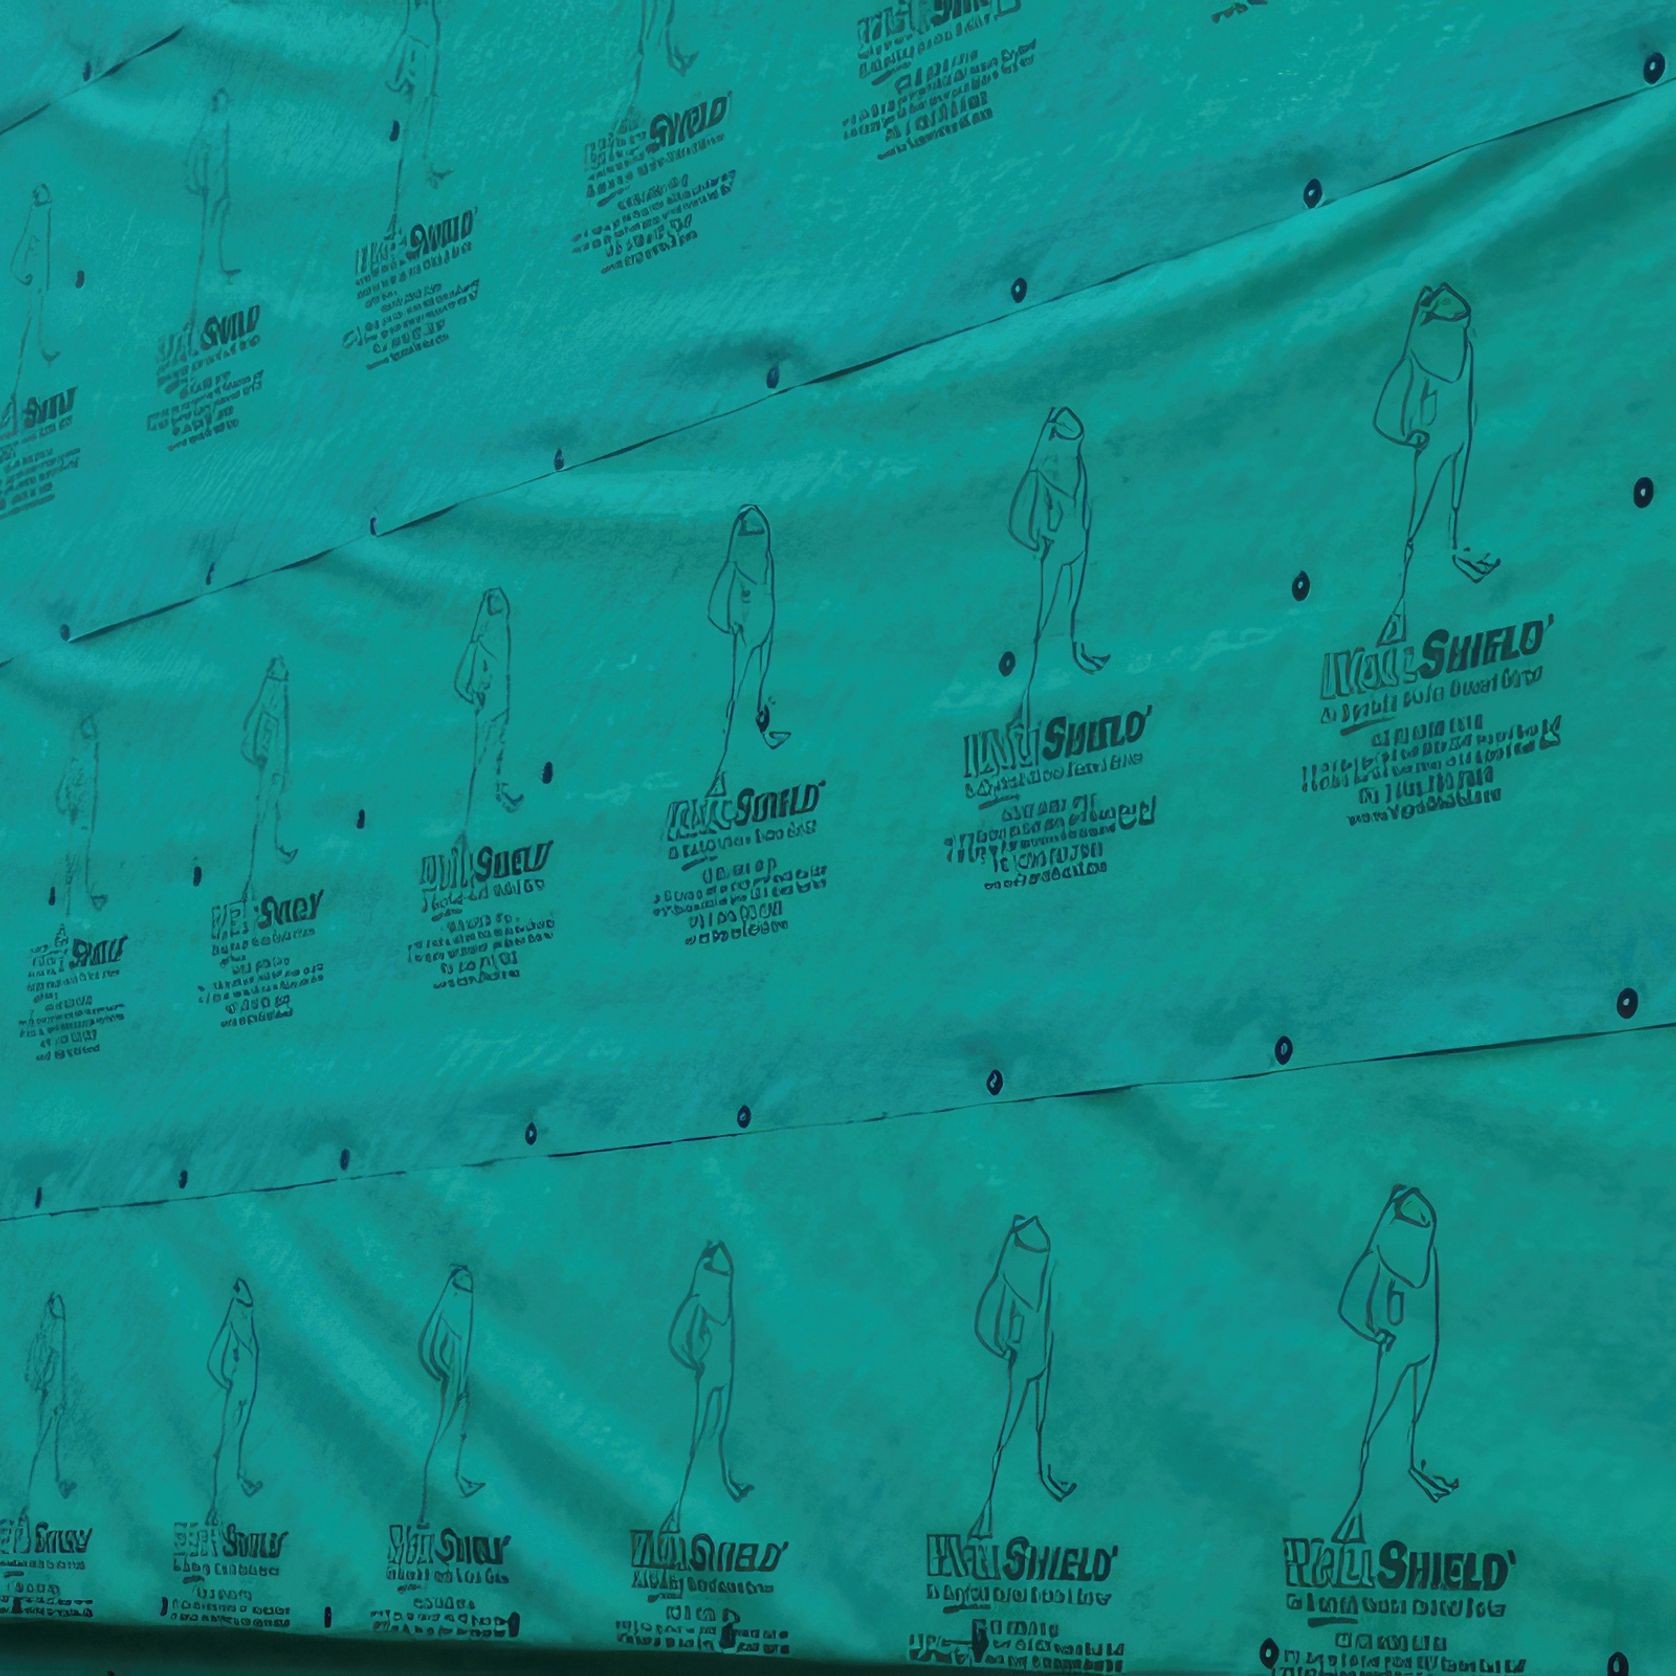
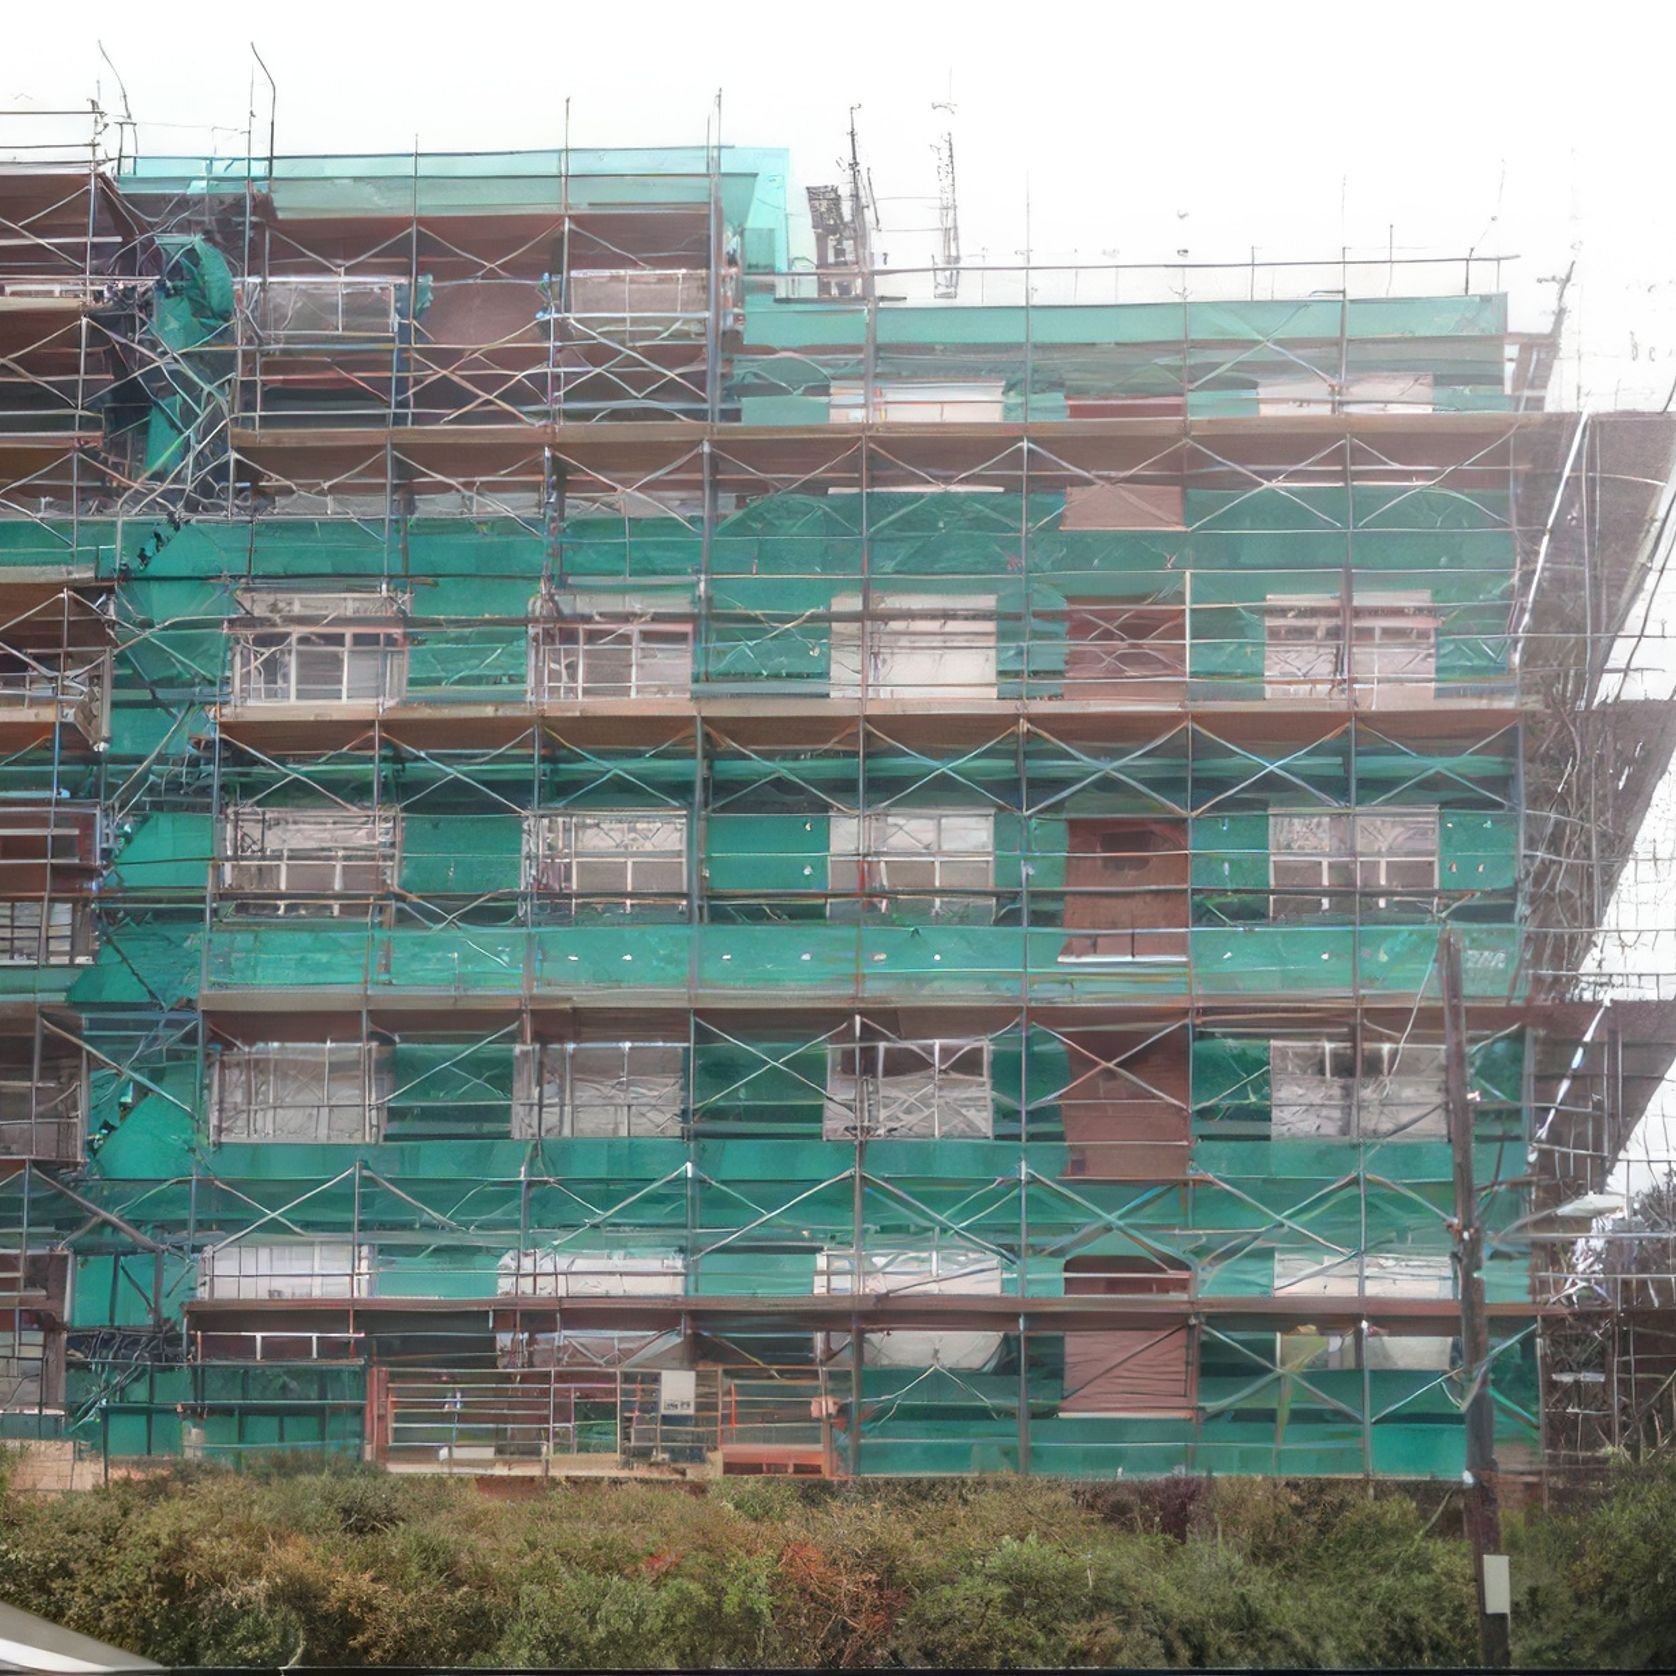
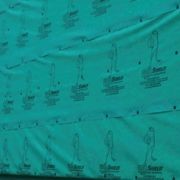
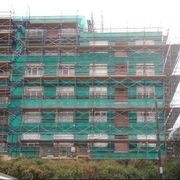
MaxCladWallShield® IT Integrated Tape is a mechanically attached high performance Water Resistive Barrier (WRB) material designed for above grade use in drainage cavity walls. WallShield IT is recommended for applications requiring a high level of vapor permeability through the building enclosure. WallShield IT provides outstanding liquid water holdout capabilities as a Water Resistive Barrier (WRB) and with the option to use the Integrated Tape located at the horizontal overlaps makes it easier than ever to limit moisture infiltration with a mechanically attached membrane, even in extreme weather locations.
- Install above grade behind rain screen wall cladding assemblies
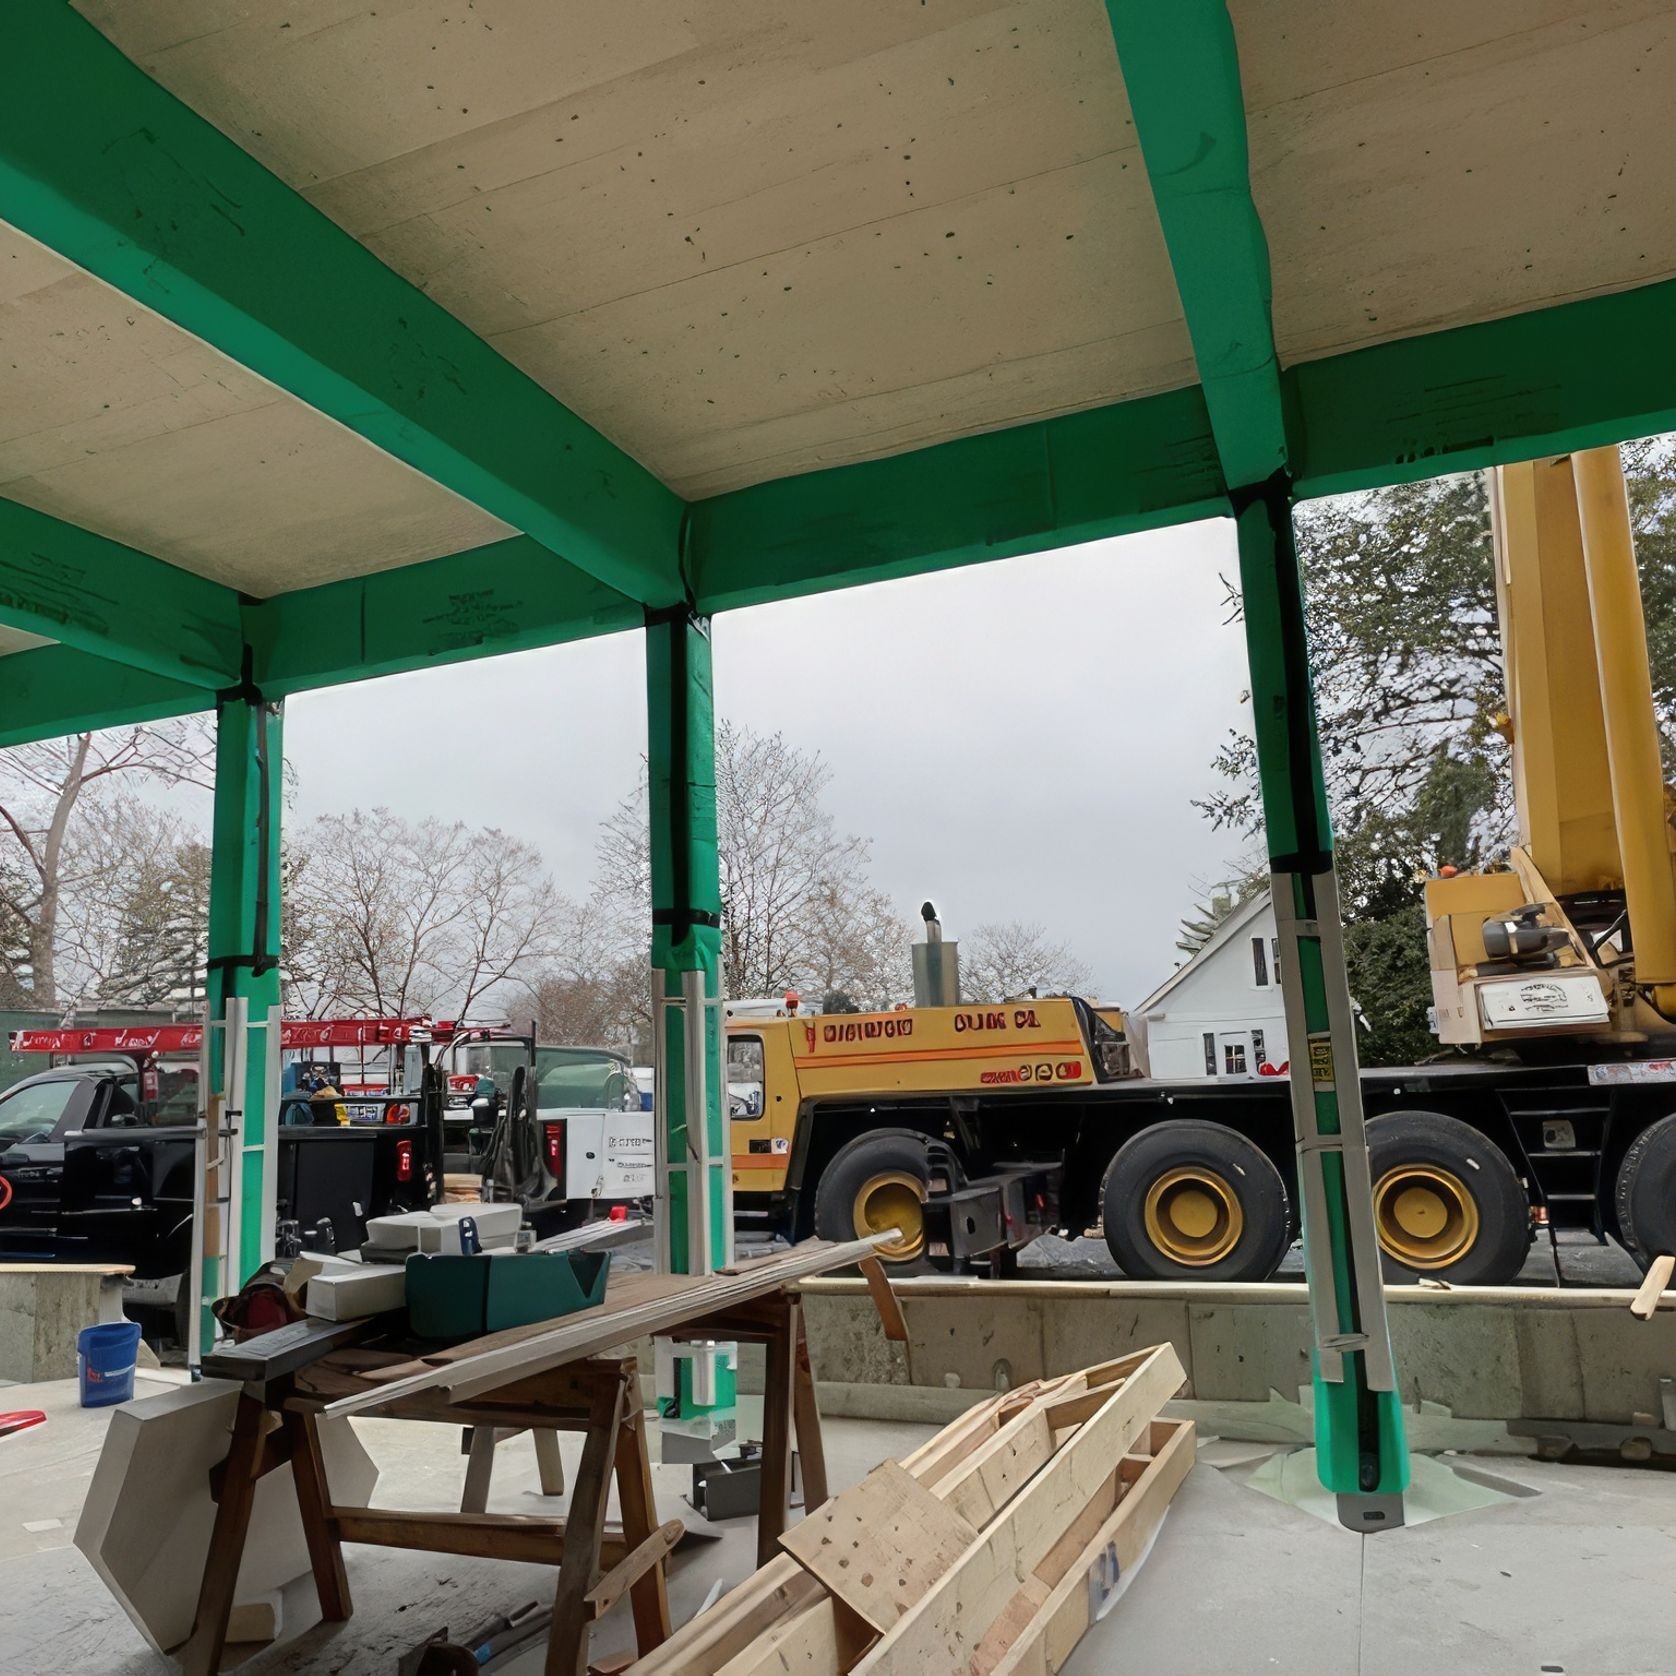
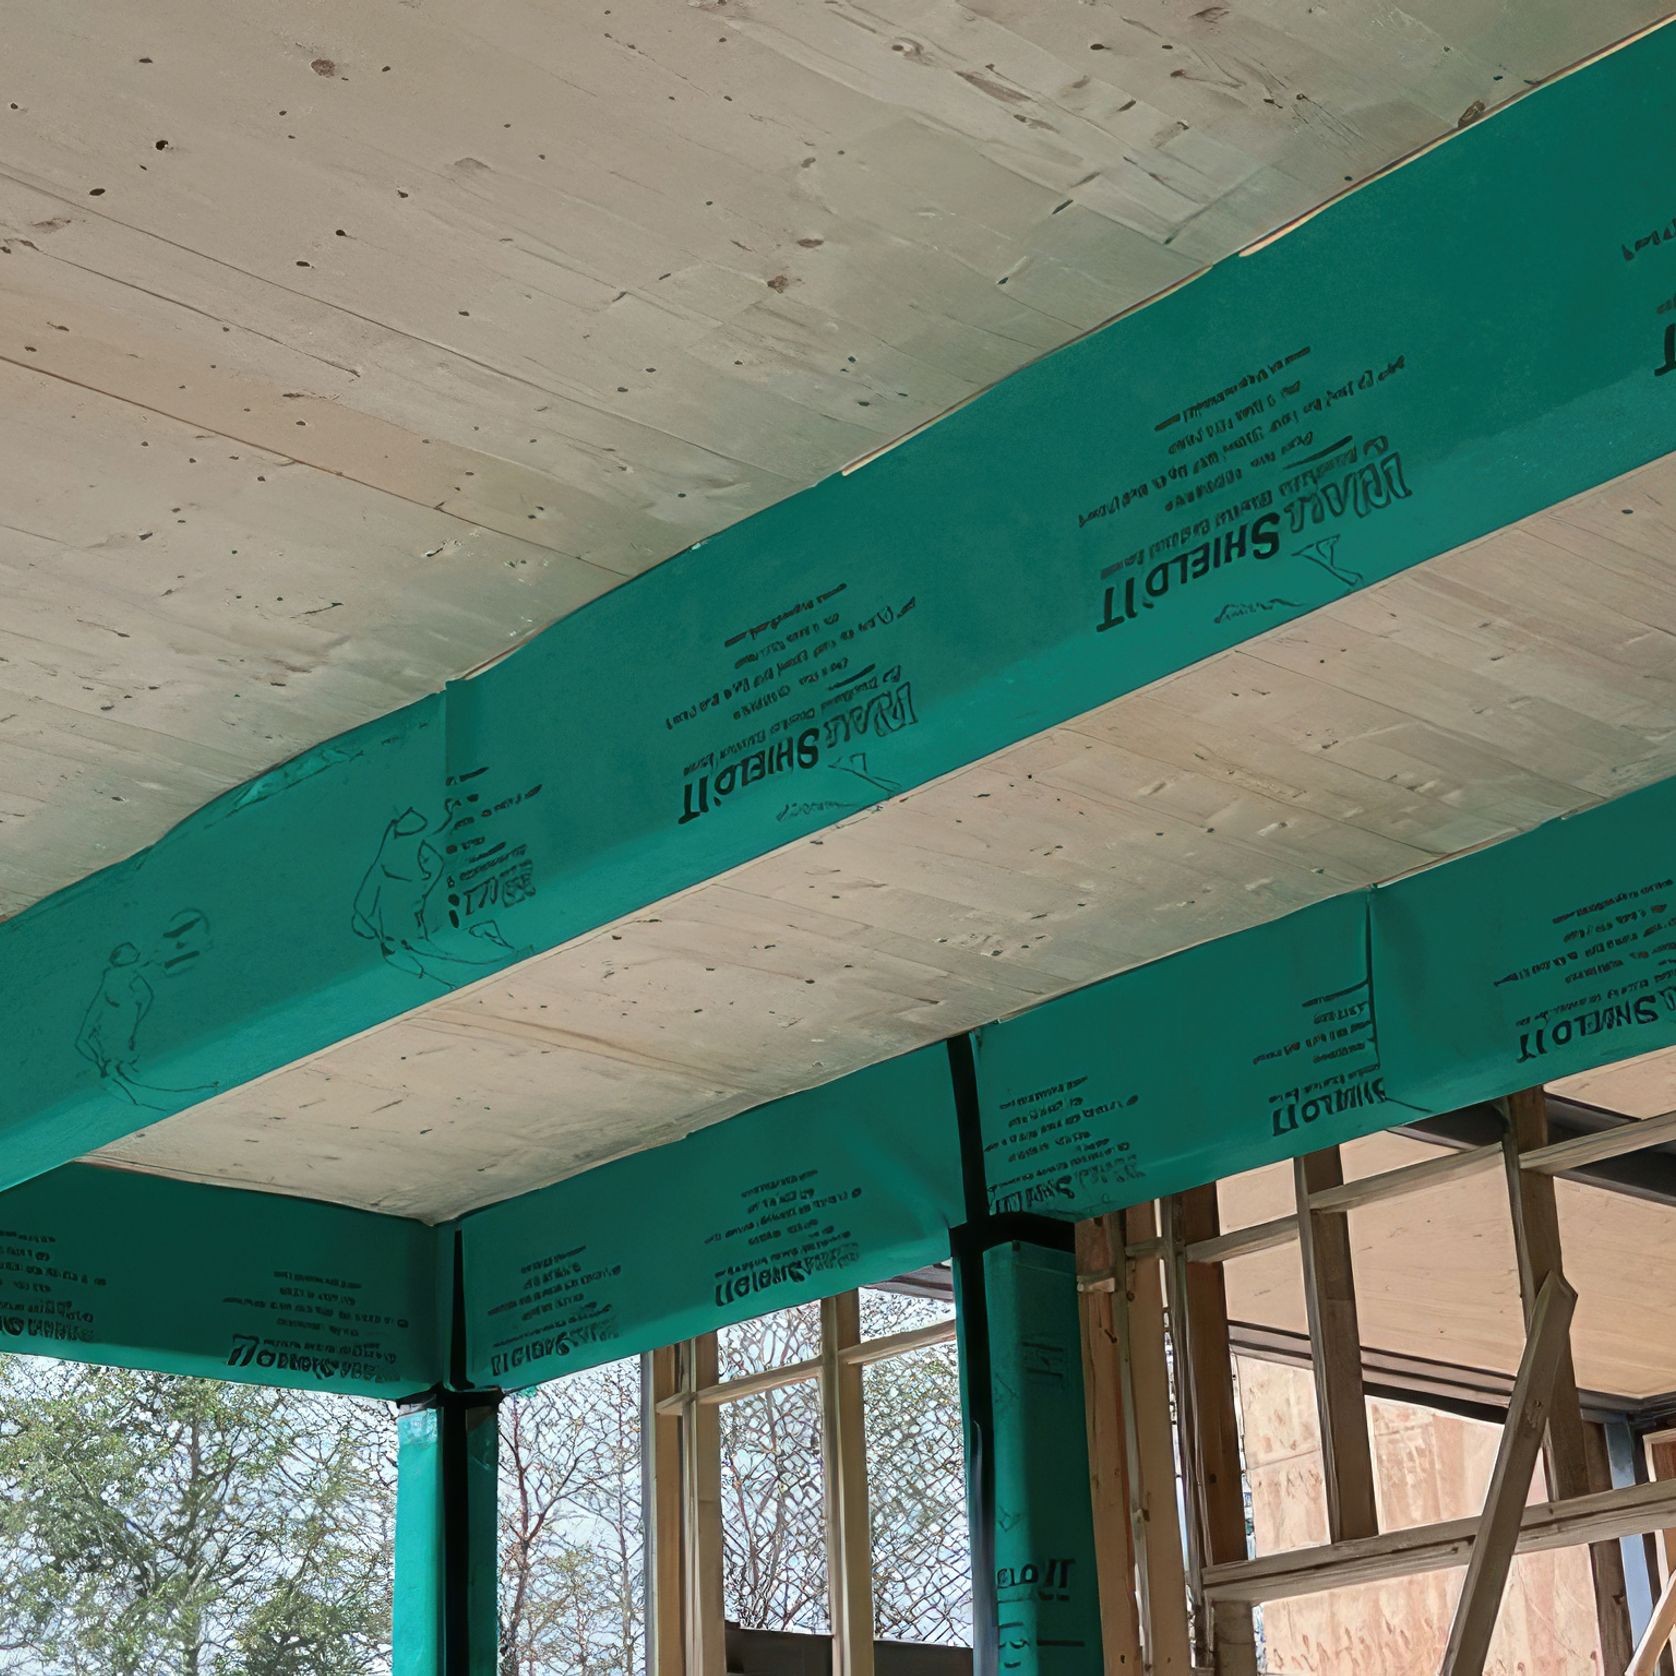
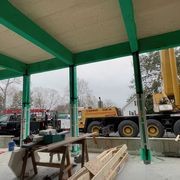
- Use as temporary mass timber framework and beam protection
- Cutting-edge drying capacity (permeability, 123 perms)
- Secondary Rain Barrier
- Installs easily in any weather: wet, dry, or freezing temperatures
- Zero VOC's, (no off-gassing)
- Low Temperature Applications
- Fire Rated, Class A to ASTM E 84
- 6 months (180 days) UV and climate exposure prior to cladding installation
- Tough, Durable, Tear Resistant
- No Primers Required
- Contributes to LEED points
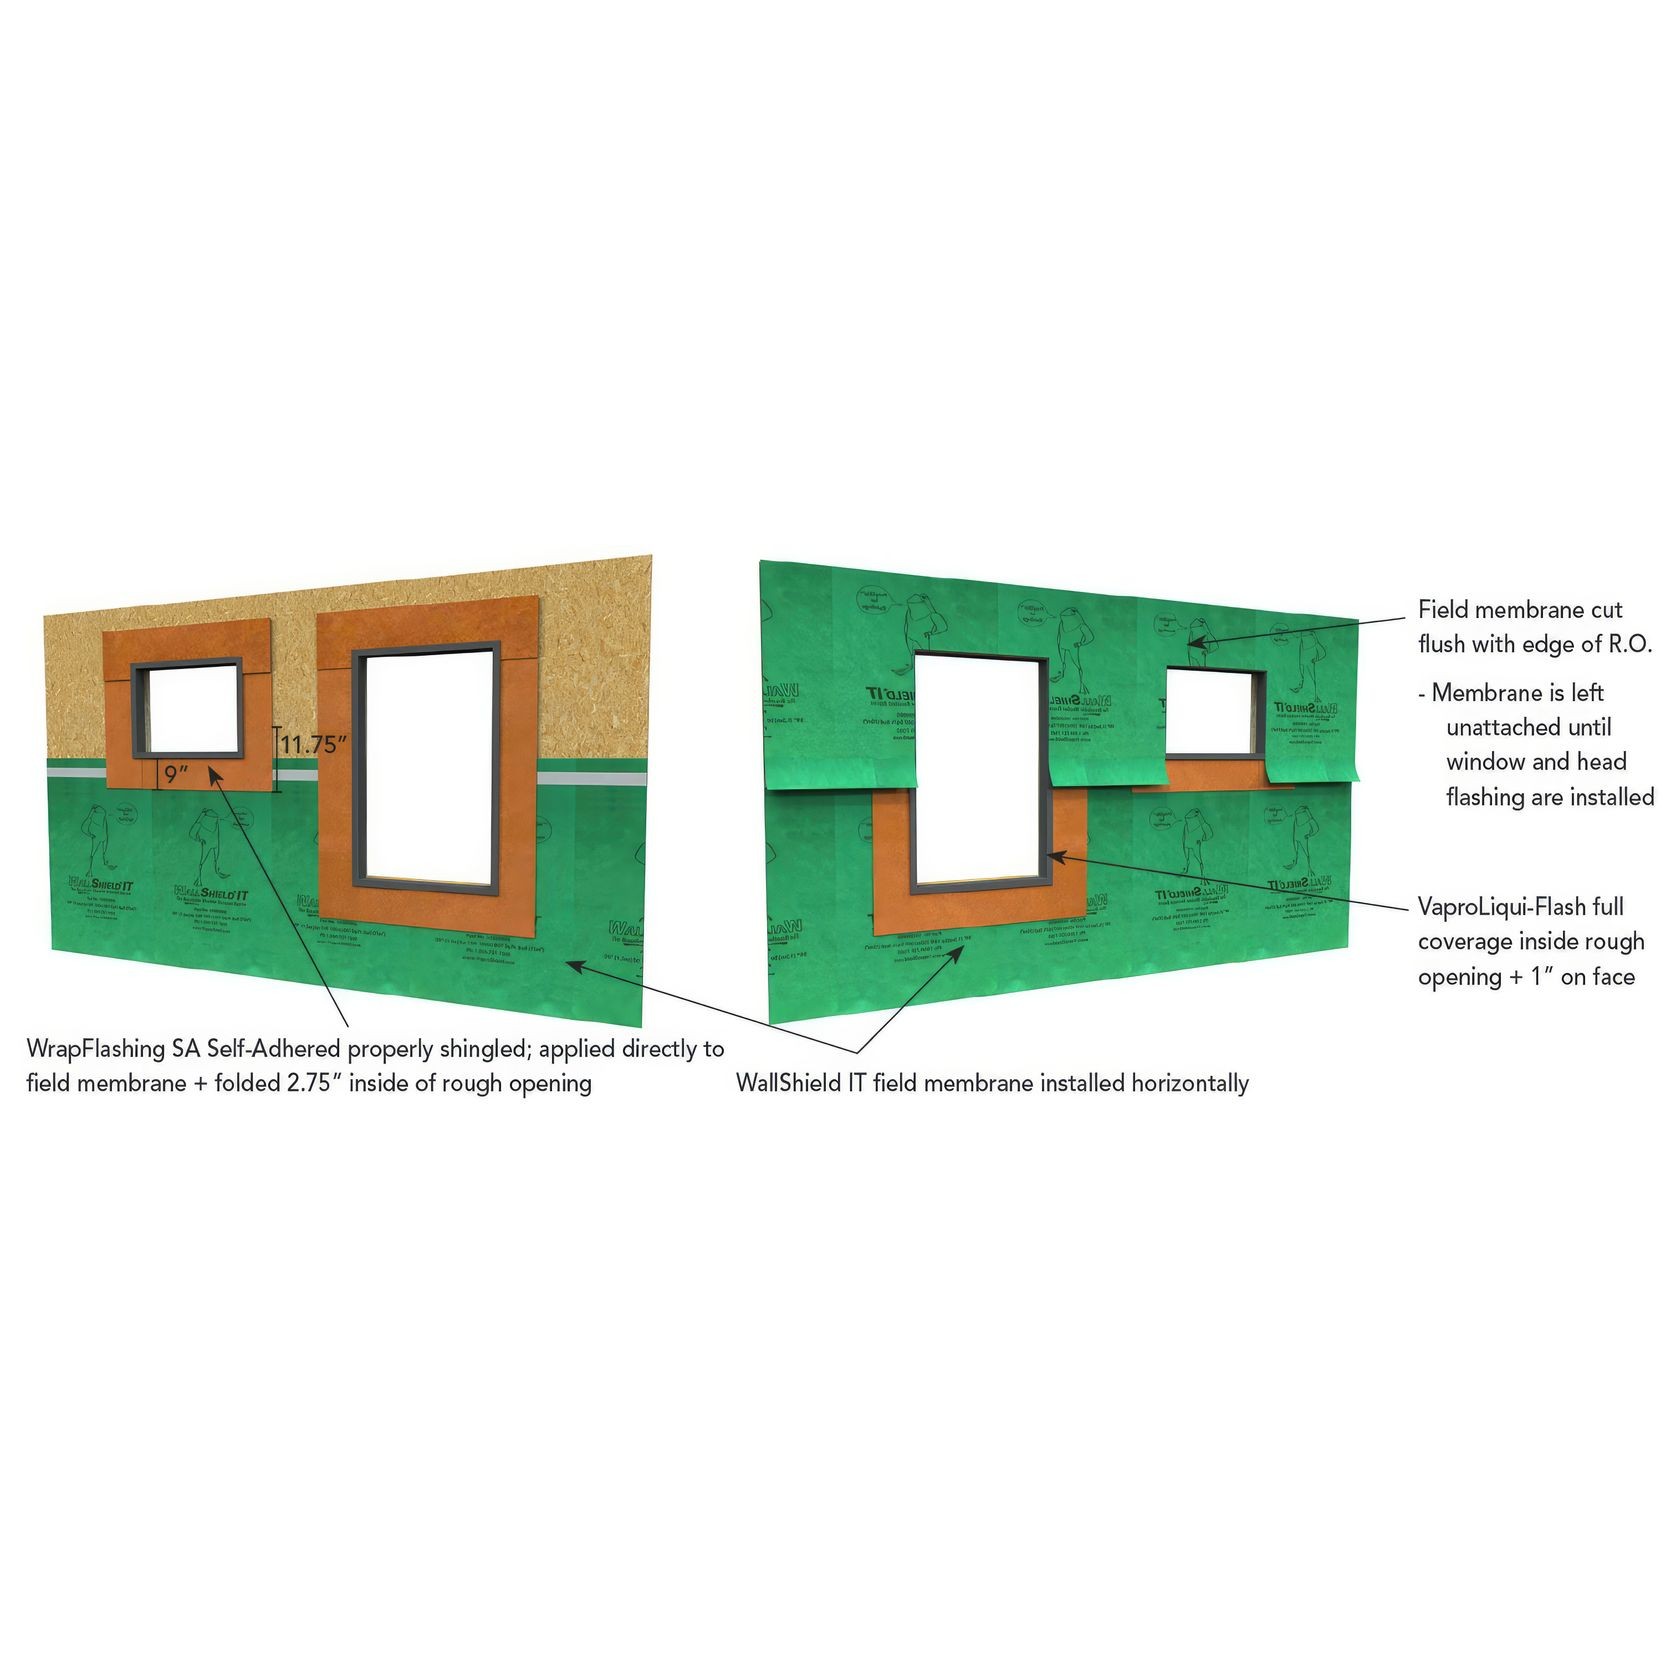
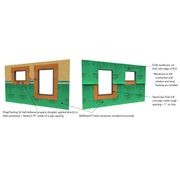
ROUGH OPENING FLASHING
Fast and efficient rough opening flashing uses VaproShield accessories specifically designed and tested to work together, making field training and installation easy.
MASS TIMBER BEAM AND FRAMEWORK PROTECTION
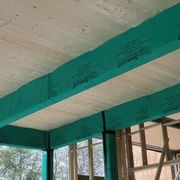
WallShield IT provides temporary protection of vulnerable mass timber structural elements such as columns and beams. Durable and abrasion resistant, WallShield IT quickly installs in all weather conditions, and is easily removed, reused or recycled to showcase the beauty of the wood.
- CategoryPre-cladding
- RangeVaproShield
- Warranty20 years
Best Practices
- Install WallShield IT with approved fasteners in a horizontal, shingle fashion.
- Plan prior to installation to minimize waste and ensure all interfaces and penetrations are identified and detailed correctly to protect against water infiltration.
- Horizontal overlaps must be at 6” to properly seal (optional) the Integrated Tape joint.
- Vertical overlaps are to be 12” minimum (optional: recommended for extreme weather locations, seal with VaproLiqui-Flash or VaproBond adhesive sealant. Vertical overlaps are to be staggered a minimum of 24” and should not occur directly above or below windows or doors.
- Inside and outside corners can be continuous, or if a vertical joint occurs within 24” horizontally, an overlap of 12” minimum in both directions is required, providing a double layer at the corner.
- Cladding attachment components are to be counted in the overall attachment requirements.
- WallShield IT must be correctly shingled with all openings, penetrations and flashings to deflect liquid water to the main drainage plain and ultimately to the exterior of the building.
- Always install WallShield IT in a “weatherboard or shingle fashion” with the upper courses lapped on top of the courses below, use the dotted line provided at 6” below the top edge.
- Sustains six (6) months (180) days UV and climate exposure prior to cladding installation.
- If desired adhesion is not attained between membranes due to site conditions, VaproShield recommends applying a bead of VaproBond as an additional solution to pressure rolling.
Substrate Information
WallShield IT can be installed over multiple substrates including: plywood, OSB, framing lumber, gypsum sheathing, rigid insulation, and semi-rigid insulation (mineral fiber).
WallShield IT Integrated Tape can be installed over wet substrates to further limit water intrusion and to allow the substrate to dry during construction. The following procedures are recommended:
- The roof of the structure should be completely dried-in by either temporary measures or permanent installation, in order to prevent water intrusion throughout the remainder of construction.
- Window and door rough openings should be protected against water intrusion by temporary or permanent measures throughout the remainder of construction.
- Proper means and methods of drying the entire structure sufficiently prior to closing up the building enclosure are the responsibility of the General Contractor.
WallShield IT is mechanically fastened to the substrate. Stainless steel staples or cap nails may be used as temporary fasteners during installation but only at locations that will be covered by the shingling of the next layer of material. See the sequential installation details below.
DO NOT place fasteners in the Integrated Tape overlap area prior to removing the release films and sealing the Integrated Tape seam. Fasteners placed in the tape area can tear the release film during removal, resulting in a poor seal. Place fasteners in the overlap area after the Integrated Tape release films are removed and the horizontal joint is sealed.
Exposed fasteners for the WallShield IT will require VaproCaps and #6,#7, or #8 size corrosion resistant bugle headed screws of the appropriate thread design and length for the underlying substrate and framing material.
VaproCaps are washers that have been extensively tested for water leakage. Substitutions are not recommended.
Cladding attachments that penetrate the WRB should be factored into the overall fastening quantity and placement.
Quantity and placement of fasteners will vary depending on the following variables:
- Length of time the installed WallShield IT WRB will be exposed prior to cladding attachments installation such as: furring strips, battens, hat channels, masonry ties, metal extrusions, etc.
- Spacing between the cladding attachments (i.e. 16”, 24”, 32” o.c., etc.)
- Type and material chosen for exterior cladding
- Local weather conditions
- Plywood and OSB sheathing applications: Use coarse threaded bugle head design wood screws in the above mentioned sizes, install with VaproCaps only in the sheathing, without contacting the underlying framing members.
- Gypsum Sheathing and Metal Framing: Use self-drilling fine threaded screws in the above mentioned sizes and shape with VaproCaps installed into the underlying metal framing or strapping.
- Fasteners for VaproBattens, furring strips, cladding clips, hat channels, etc. should be evaluated for liquid water holdout properties before selection or installation. Gasketed fasteners are recommended whenever possible.
Contact VaproShield Technical Support for additional information on fasteners.
- After flashing the window’s rough opening, begin installation at the base of the wall, progressing in a shingle fashion upwards.
- Install with SS staples in the top 2” above the Integrated Tape. Avoid stapling in the adhesive strip area of the Integrated Tape.
- Line up the bottom of the upper course of material with the dotted line, creating a 6” overlap.
- Remove release film from top of adhesive strip where flap overlaps. Overlap vertical seams by 12” minimum, seal with VaproLiqui-Flash or VaproBond adhesive sealant if necessary.
- Lay overlapping layer of WallShield IT onto vertical sealant joint and smooth with hand pressure.
- Optional for extreme exposure locations: Join horizontal seams by peeling back both release films, starting from where horizontal joint meets vertical joint.
- Optional for extreme exposure locations: Line up both release films together so they can be pulled down the wall with one hand.
- Optional for extreme exposure locations: Use the opposite hand to smooth the two layers together as the release film is removed.
- Optional for extreme exposure locations: Smooth out wrinkles with hand pressure and seal the adhesive strips using a hand roller.
SlopeShield Plus Self-Adhered roofing underlayment offers permanent mass timber roof deck/floor deck protection by allowing vapor to pass through (breathable) but not air or liquid water.
WallShield IT Integrated Tape water resistive barrier (WRB) membrane offers mass timber post, column, and beam protection by allowing vapor and air to pass through but not liquid water.
PanelShield SA is a permeable polyester air barrier (AB) and water resistive barrier (WRB) sheet membrane offers permanent protection for exterior walls by allowing vapor to escape through but not air or liquid water.
BASIC USE
SlopeShield Plus SA is installed on the roof deck/floor deck as the structure is erected and taped using VaproTape on the seams. The underlayment can be installed on a low slope (1/4":12 to 2:12) assembly or a steep slope (2:12 or greater) assembly.
WallShield IT is wrapped around posts/columns and beams and uses VaproTape at the seams.
PanelShield SA is designed for exterior walls with rainscreen cladding materials. VaproShield offers additional WRB air barrier membranes for walls including open joint cladding, see individual product data sheets.
MATERIALS
- SlopeShield Plus SA: spun-bond polyester
- WallShield IT: multiple layers of spun-bonded polypropylene
- PanelShield SA: spun-bond polyester
COMPATIBLE SUBSTRATES
All mass timber types:
- Cross-laminated timber (CLT)
- Nail-laminated timber (NLT)
- Dowel-laminated timber (DLT)
- Vertically laminated veneer lumber (LVL)
- Glue-laminated timber (GLT)
- Laminated strand lumber (LSL)
- Timber-concrete composites (TCC)
- Parallel strand lumber (PSL)
- Mass plywood panel (MPP)
INSTALLATIONSTORAGE AND HANDLING
Store materials on end in original packaging at temperatures between 40°F and 120°F (4.4°C and 48.9°C). Protect materials from direct sunlight and inclement weather until ready for use.
SAFETY
CAUTION: Release liners are slippery. To prevent injury, liner should be removed from under foot as soon as membrane is installed and disposed of properly.
Work crews are safe around VaproShield membranes they contain zero VOCs or toxins.
Persons who access any roofs, involved with roof construction, repair or maintenance shall use appropriate personal protective equipment including, but not limited to, hard hats, eye protection, and leather gloves and must be trained on safe practices relevant to their work.
Where the use of ladders, scaffolds, platforms, or temporary floors are utilized, safety lines and safety harnesses shall be used. Please access the OSHA Web site at www.osha.gov, contact your local OSHA office, or visit the local federal bookstore to obtain the most current information on OSHA 29 CFR 1926.
PREPARATION
For self-adhered membranes all surfaces must be dry, sound, clean, “as new” condition, and free of oil, grease, dirt, excess mortar or other contaminants detrimental to the adhesion of the roofing underlayment or WRB air barrier. Fill voids and gaps in substrate greater than ½” (12.7 mm) in width to provide an even surface.
LIMITATIONS
SlopeShield Plus Self-Adhered should be covered within 180 (6 months) of installation with permanent roofing/flooring material. Minimum recommended application temperature of 20˚F (- 6.0˚C) and rising.
PanelShield SA should be covered with cladding within 12 months of field assembly. Minimum field assembly recommended installation temperature of 20˚ F (- 6.0˚ C) and rising.

More from MaxClad
For over 10 years MaxClad has supplied the New Zealand market with exceptional rainscreen-design components, air & water resistant barriers, exterior facades and substrates, using a systems-based approach that considers every criteria of a project. We believe in challenging the status quo of improper rainscreen design and installation. We know that a holistic approach to rainscreen design is necessary – one that takes into account the entire exterior envelope of the wall assembly.
As a result of this conviction, MaxClad represents a diverse portfolio of terracotta, HPL, GRC/Fibre C, attachment systems, insulation and adhesive-based air barriers that enable us to become a single-source cladding solution for all of your rainscreen design needs.
We have numerous successful projects which stand testament to our products or if you'd like to find out more about us, get in touch.
- ArchiPro Member since2020
- More information
